
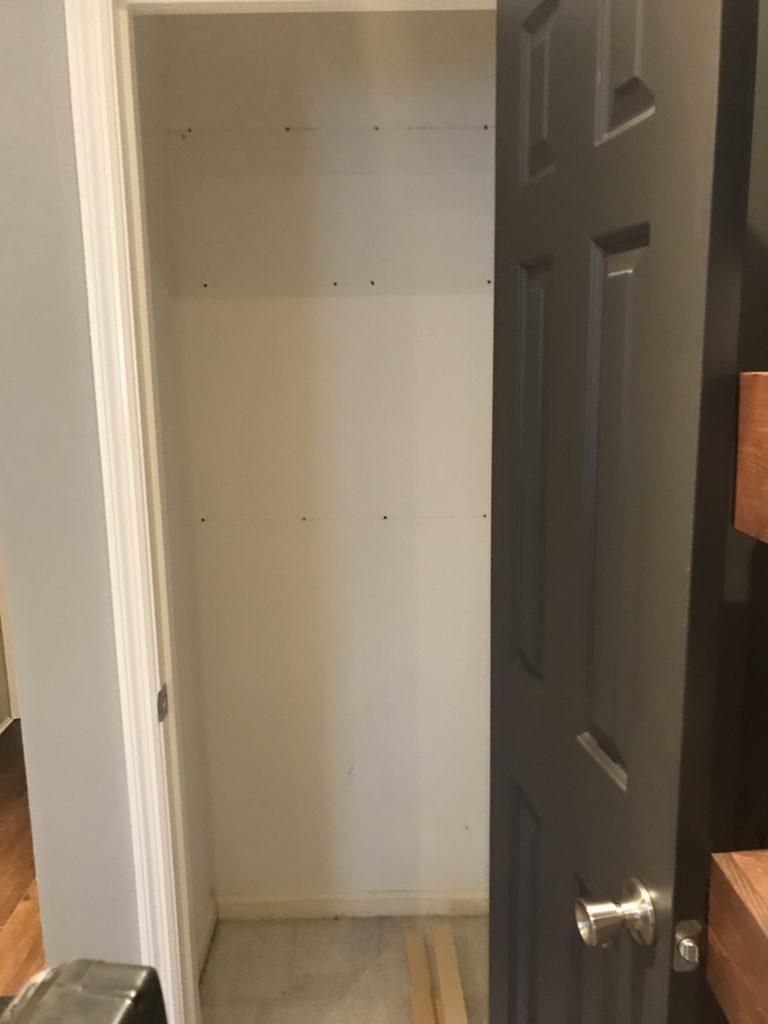
Here’s another project in the bonus room, but this one came about after the fact. The closets in this room are very awkward and small, as with most bonus rooms. This closet needed to be used for home office storage rather than only hanging items. It needed lots of shelving and the one little wimpy wire rack wasn’t cutting it. Since my wood pile had grown existentially over the past few months, why not put it to use and build diy closet shelves.
I searched through the wood pile and found enough pieces of leftover plywood for the shelves and 2″ boards for the supports. Once I had my plan in place, I presented my idea to the in-house contractor and he loved it. He thought it was a great idea for one reason only, it was free! Ok, he did like the thought of making the closet more functional, but the price was right for this project.
Getting Started
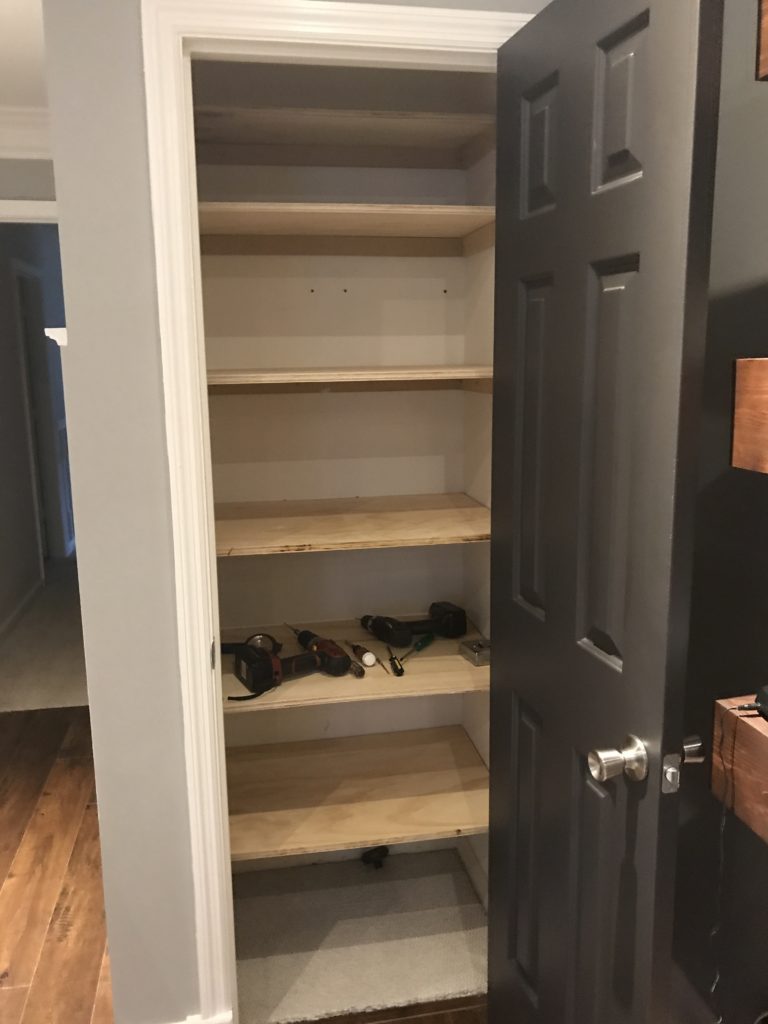
Here is how the closet started out. We removed the standard wire rack and started planning where to add the first shelf. Before I knew it there were two support brackets up.
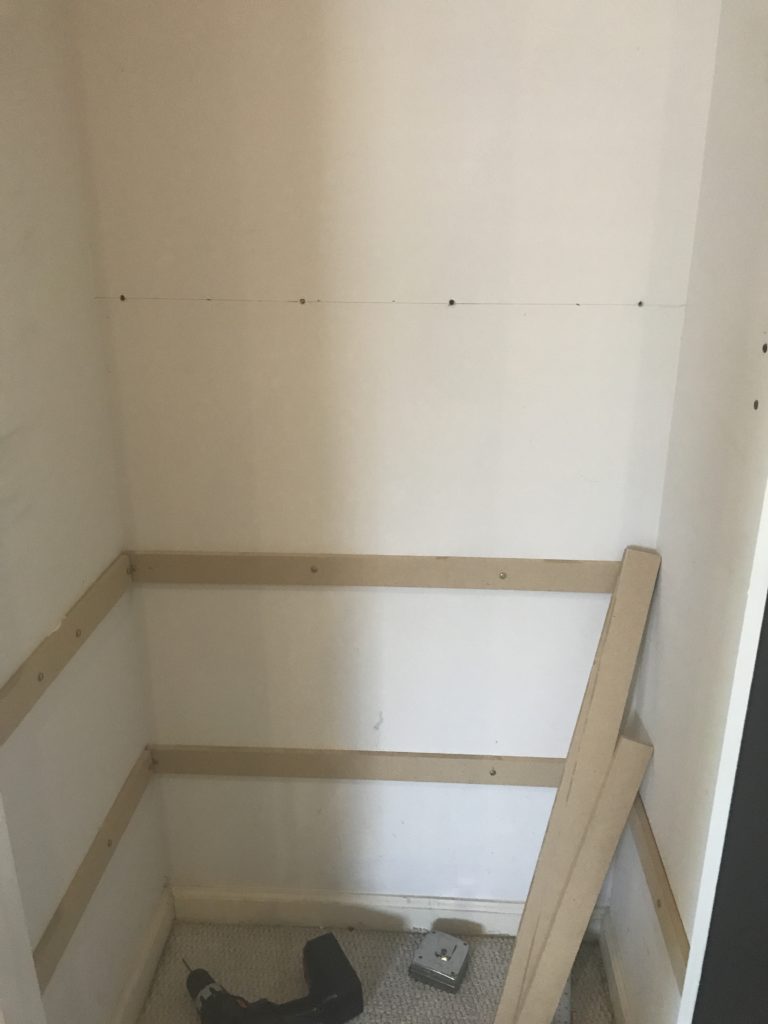
The supports were attached to the studs wherever possible and Dad used some heavy duty wall anchors where there were no studs…just for added support. The pieces of plywood were cut to fit and sat on top of the supports. That’s it, instant diy closet shelves.
The support braces were screwed into the wall on all three sides because I didn’t want any sagging. I hate a saggy shelf!
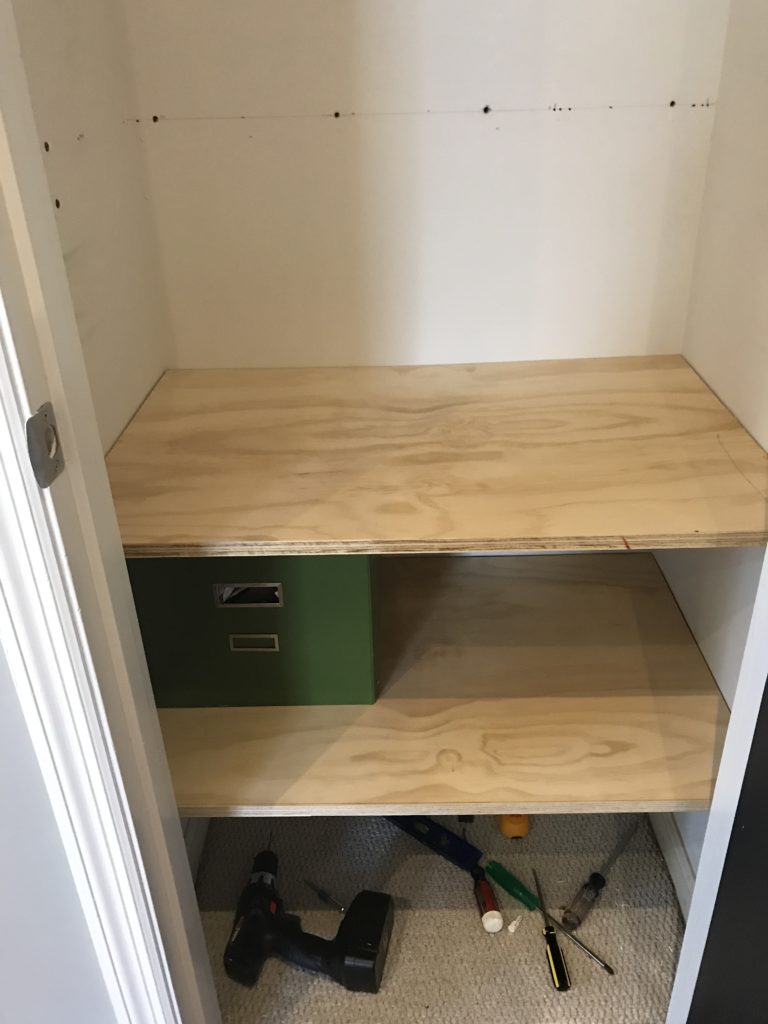
Make sure everything is level! You can see the brace for the back of the shelf in the pic below. The sides went up the same way. Just three strips on the wall….see, it’s easy.
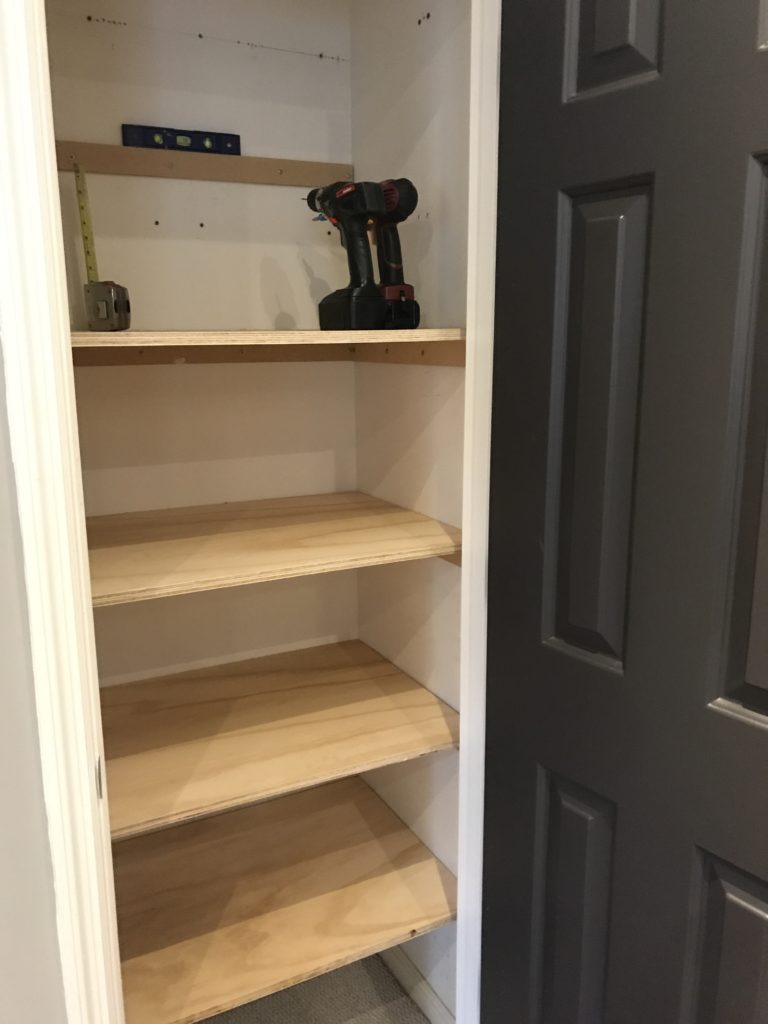
The top shelf was not as deep as the rest of the shelves. That makes it easier to store things higher up without trying to squeeze it between the shelf and the top of the door frame.
Time to Paint
I thought about painting the shelves white, but I had tons of paint samples leftover from trying to decide the paint color in this room. Not only did we use scrap wood, but I utilized leftover paint. Seriously, this cost us nothing. White would have been fine, but I opted for one of the darker grays. This is Chelsea Gray, which is the color I chose for the room, but this sample was 25% darker. You can read all about my wall color choice here.
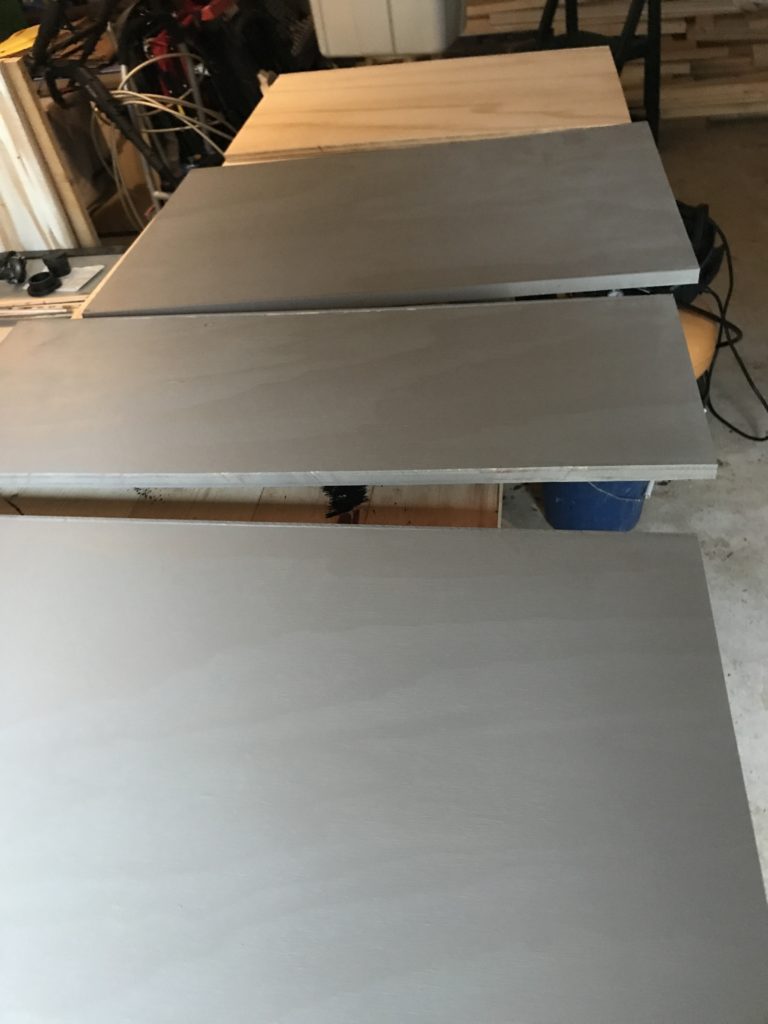

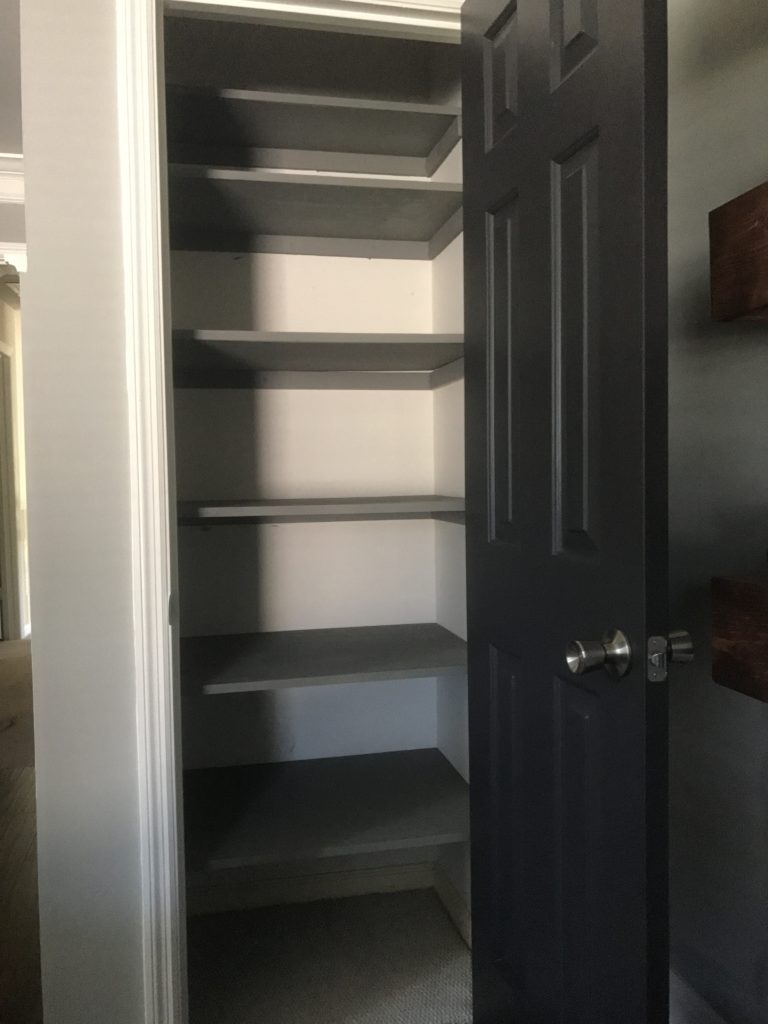
After giving the shelves and the support brackets a couple of coats of paint it was time to install them. It looks so good!
Getting Organized
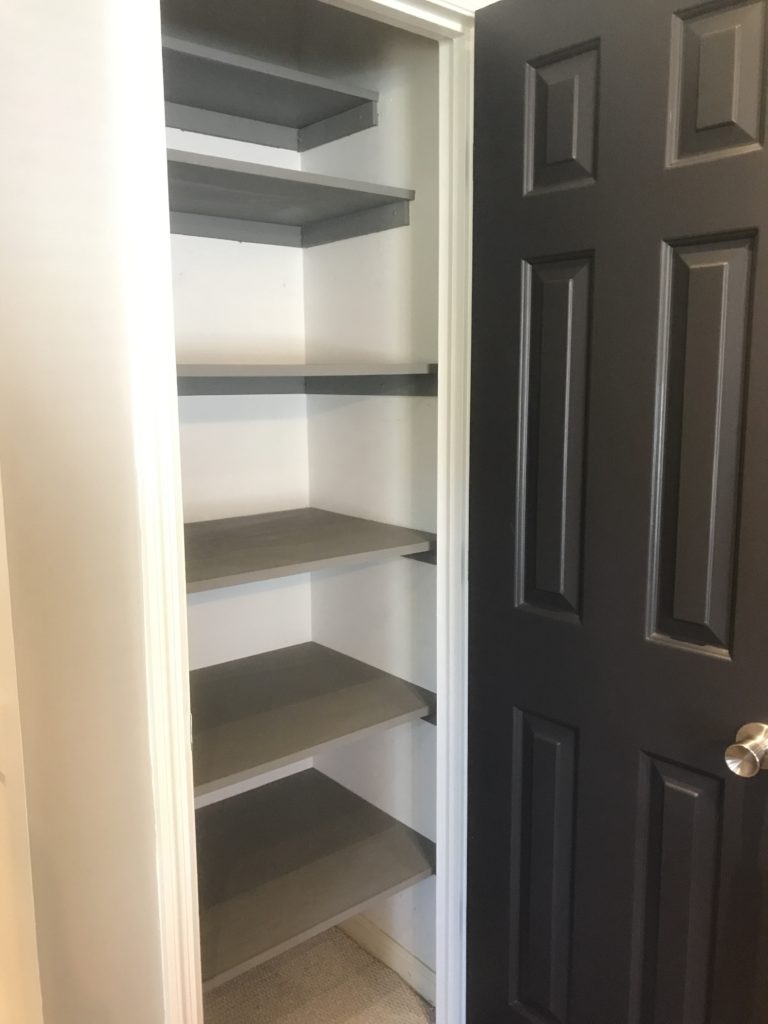
Look at all the shelving that I was able to squeeze into this itty bitty closet. I can’t wait to get everything organized and neatly put away. But, I do need a few storage boxes, baskets, etc. This is where the no cost diy closet shelves balance out the spending. Uh-oh! Off I went to Target and The Container Store. This is where all the savings ended! I spent about $120 on the following:
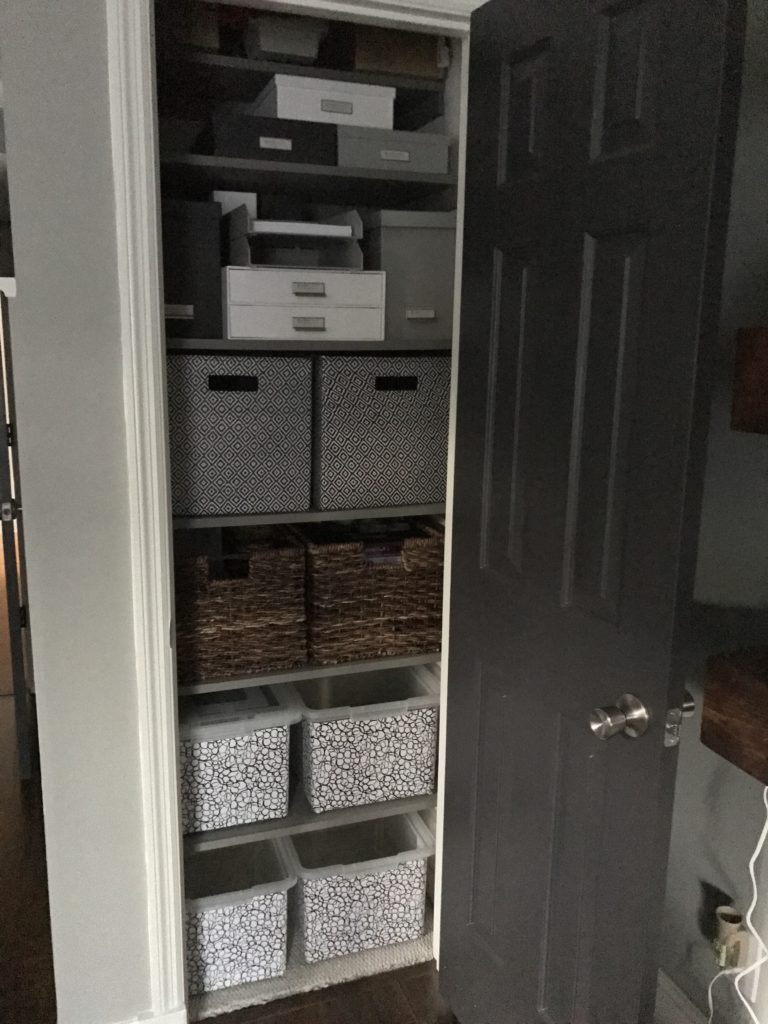

The file boxes on the bottom were just clear plastic boxes and I covered the fronts with contact paper. Now I have so much storage and all of my office junk is organized in one place. Once I get everything sorted out, I’ll add those cute chalkboard tags to label all the bins and baskets. This was an easy diy project that anyone can do with a little time and effort. Having a good wood pile comes in handy, too!


I love this idea! I’m renting so I don’t think I could do it here but what a great way to make and free up space.
Thank you!!! I’ve seen some rental friendly storage solutions on Pinterest, but keep this in mind for later. 🙂