
Using wood trim to update your space is an easy and inexpensive solution that will give a room elegant appeal. Check out the areas where I used wood trim in my DIY bonus room makeover project.
DIY: Easy & Budget Friendly Update To Any Room
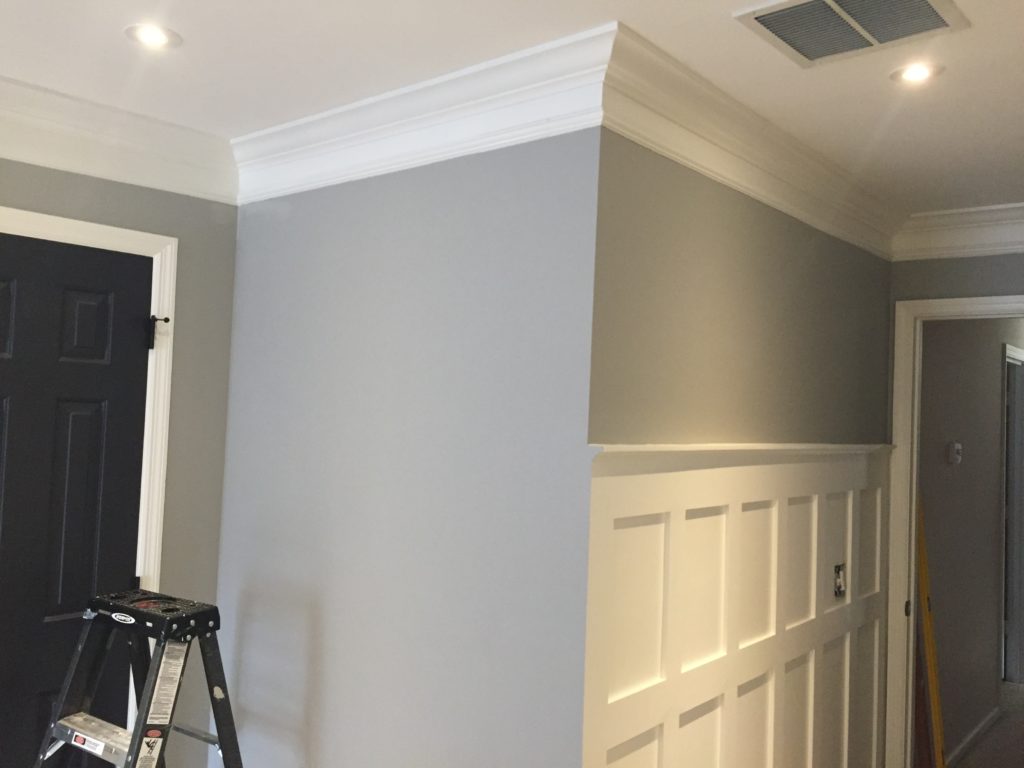
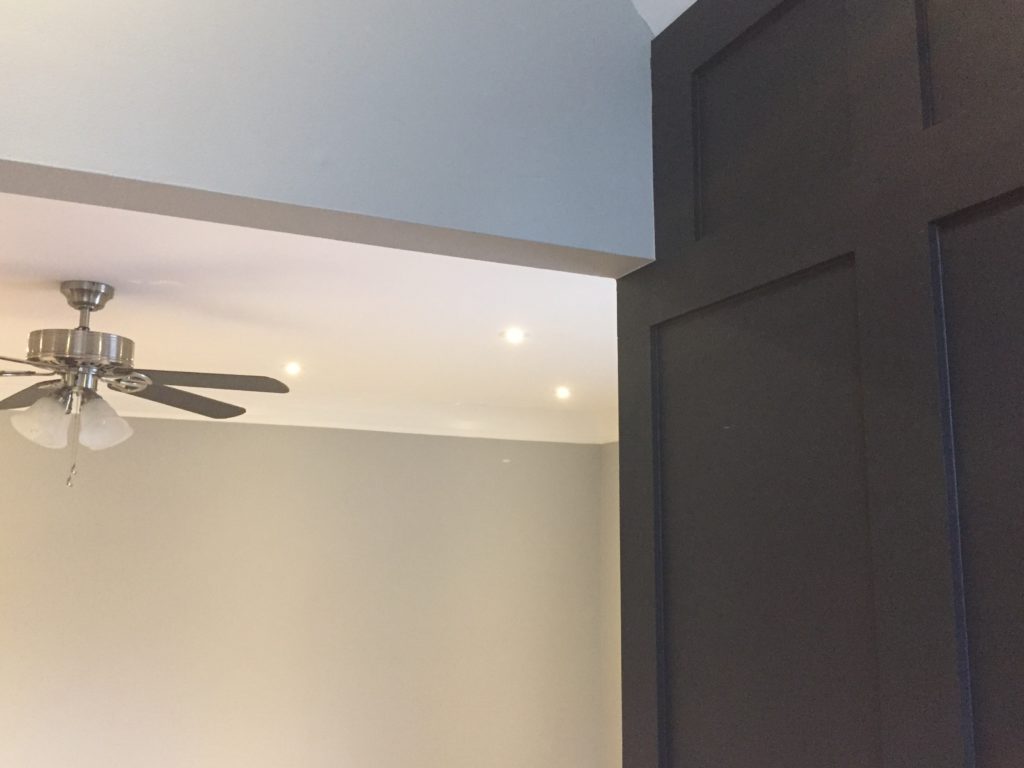
For an easy update to any space try adding wood trim. I was happily surprised with the look of my bonus room after adding crown moulding, wider baseboards and some board and batten to the walls. Wood trim helped to create tons of architectural detail to what was a previously “blah” space. I won’t say it was an super inexpensive DIY project, but it sure beats the alternative of buying a new construction home. Overall, the supply cost wasn’t bad. However, the labor was intensive for me since I had no clue what I was doing. If it wasn’t for my dear dad I’d still be flipping the blade on the compound saw back and forth trying to cut the crown moulding. Thanks again to my favorite carpenter, my dad!
DIY Board and Batten
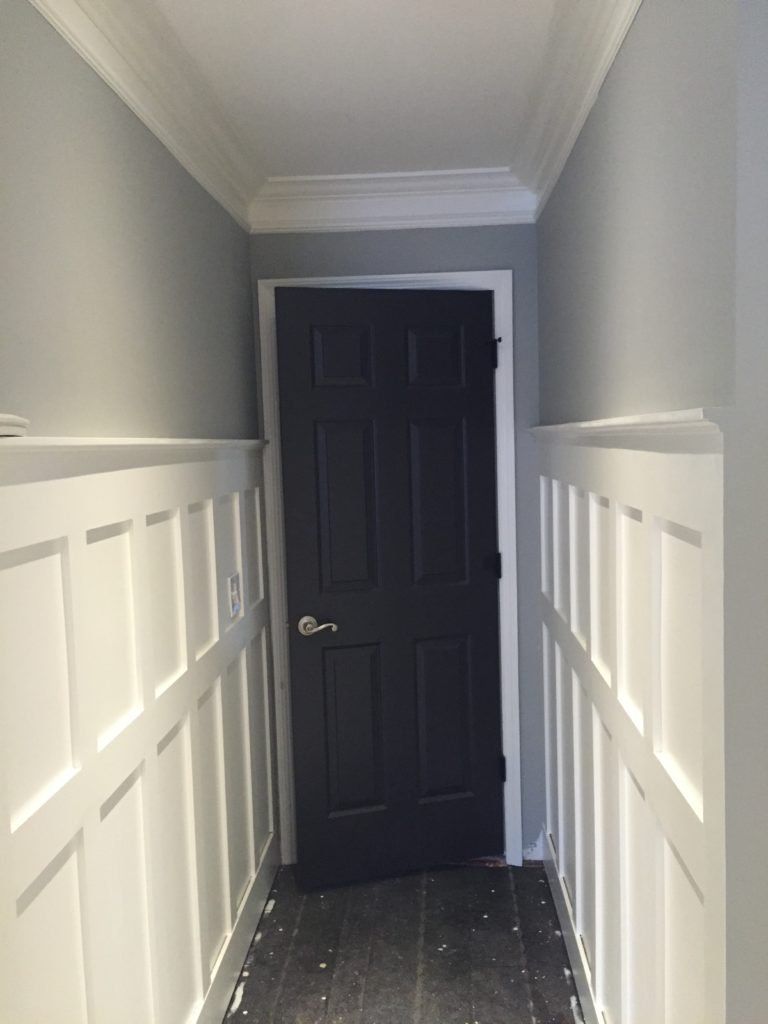
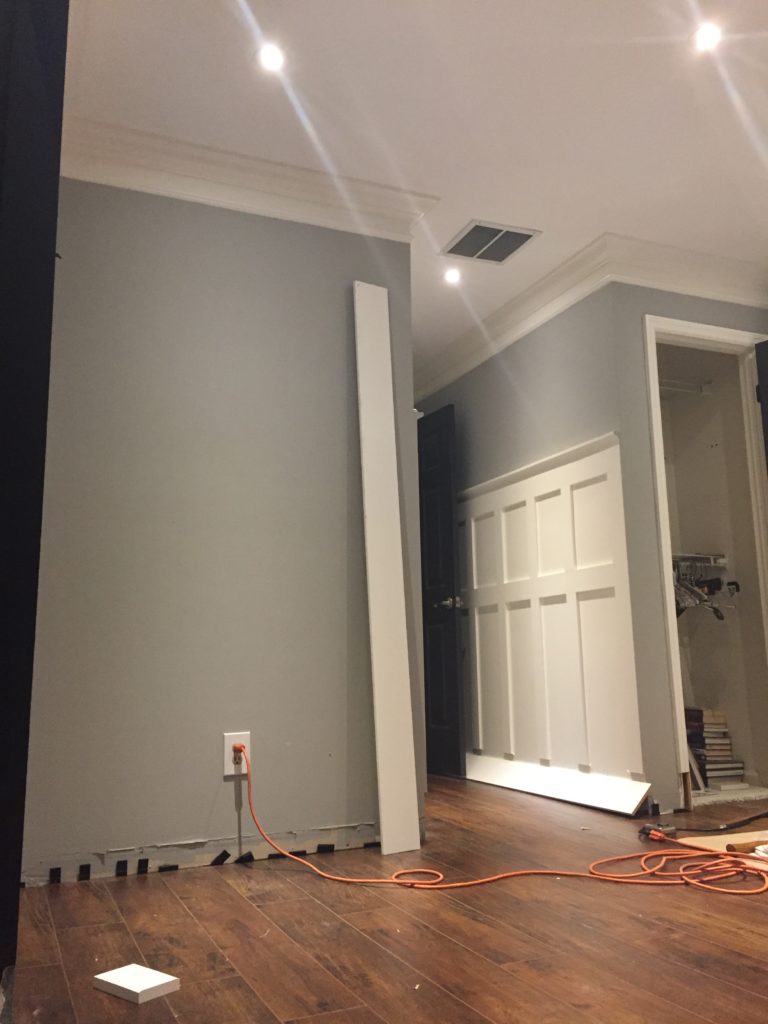
I’ve pinned so many beautiful board and batten projects from Pinterest over the years. This room makeover finally provided me with an opportunity to try it out. Once we completed this project, I was ready to put it all over the house. Dad had to talk me off the cliff because I was ready to dive in!
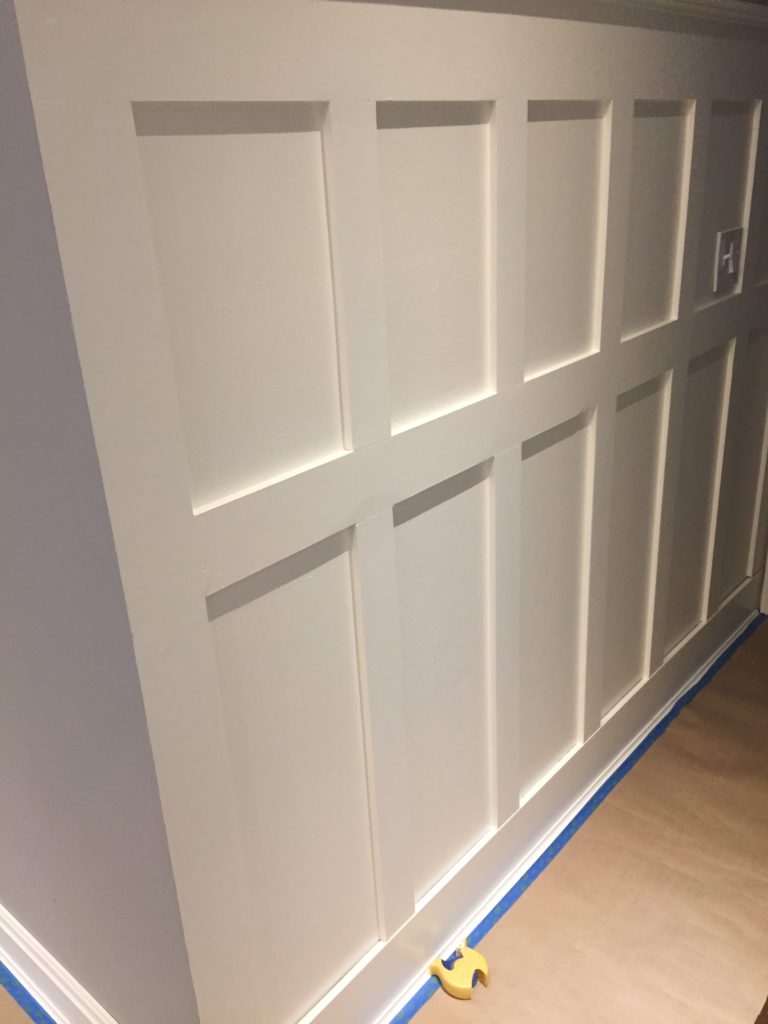
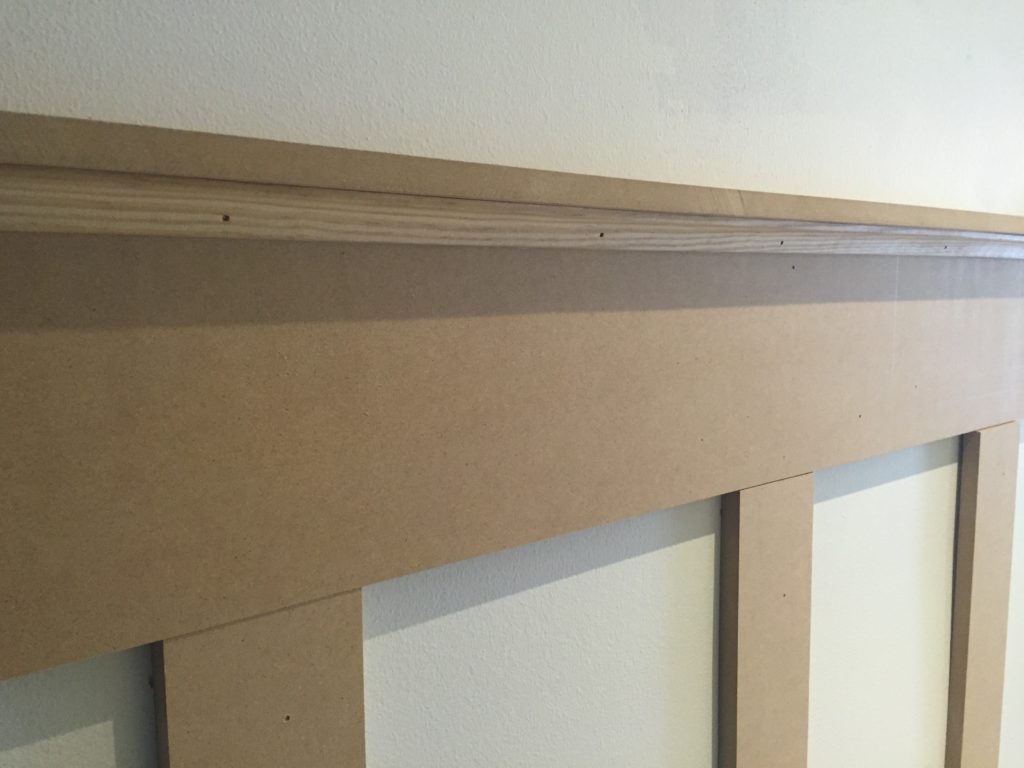
 This project wasn’t difficult at all and it gave the walls so much character. I bought a couple of sheets of MDF and we cut 5″ and 3″ wide pieces for this pattern. The wonderful guy at Home Depot cut all the strips and we just had to cut them to the length needed. I think I spent most of my time filling nail holes, caulking, sanding and painting.
 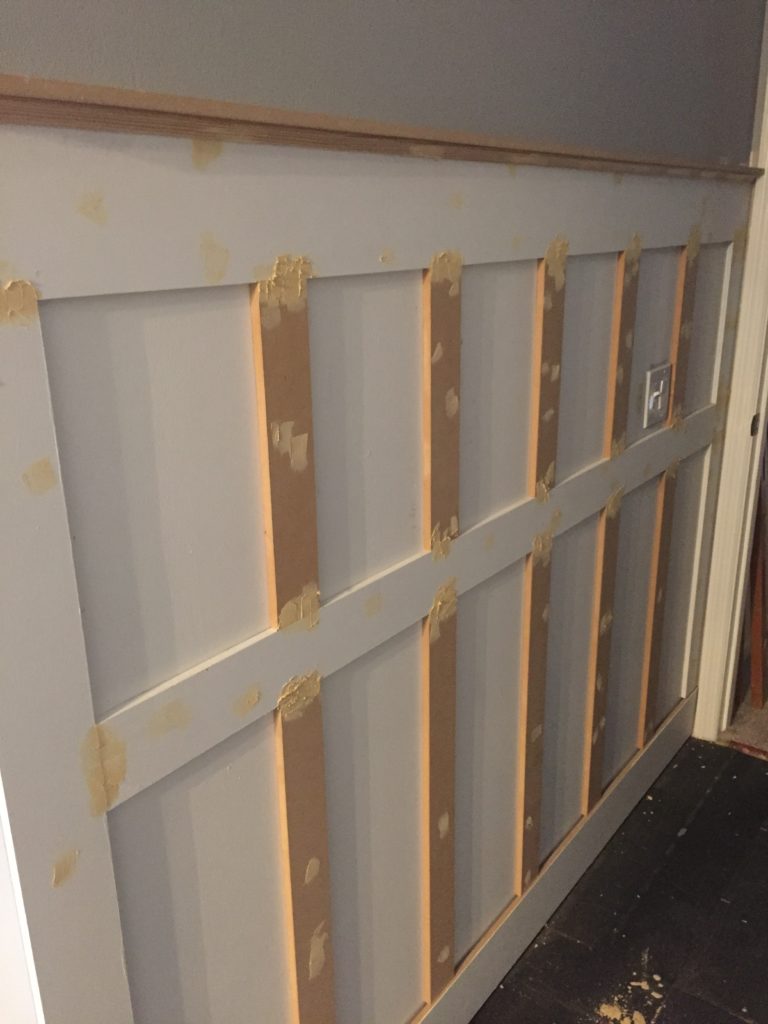 I used a small piece of mdf to create a little ledge and then nailed a decorative piece of molding to finish it off. Once painted it all looked like one fluid piece. We had to temporarily nail the bottom piece until the floor was installed.

Once you frame it all out, then start filling in your pattern. I wasn’t really sure of my pattern and I’m a bit impatient when it comes to measuring. So, I won’t tell you to just throw it up there in the pattern that looks best to you. 🙂 You should measure it out beforehand (wink wink).
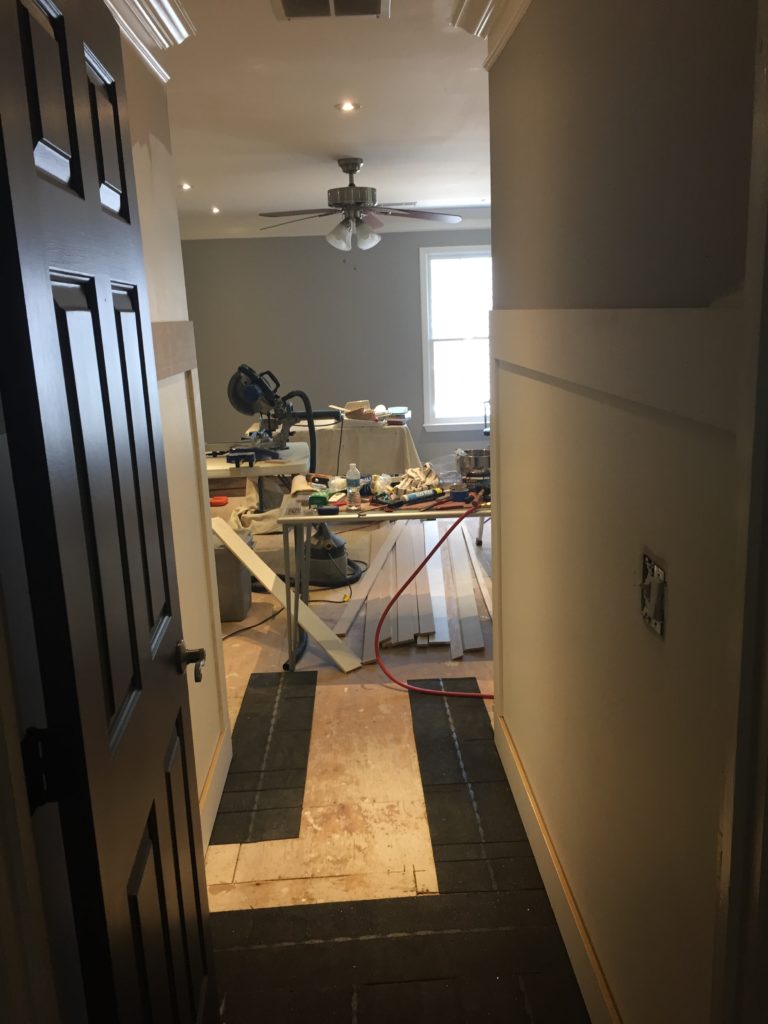
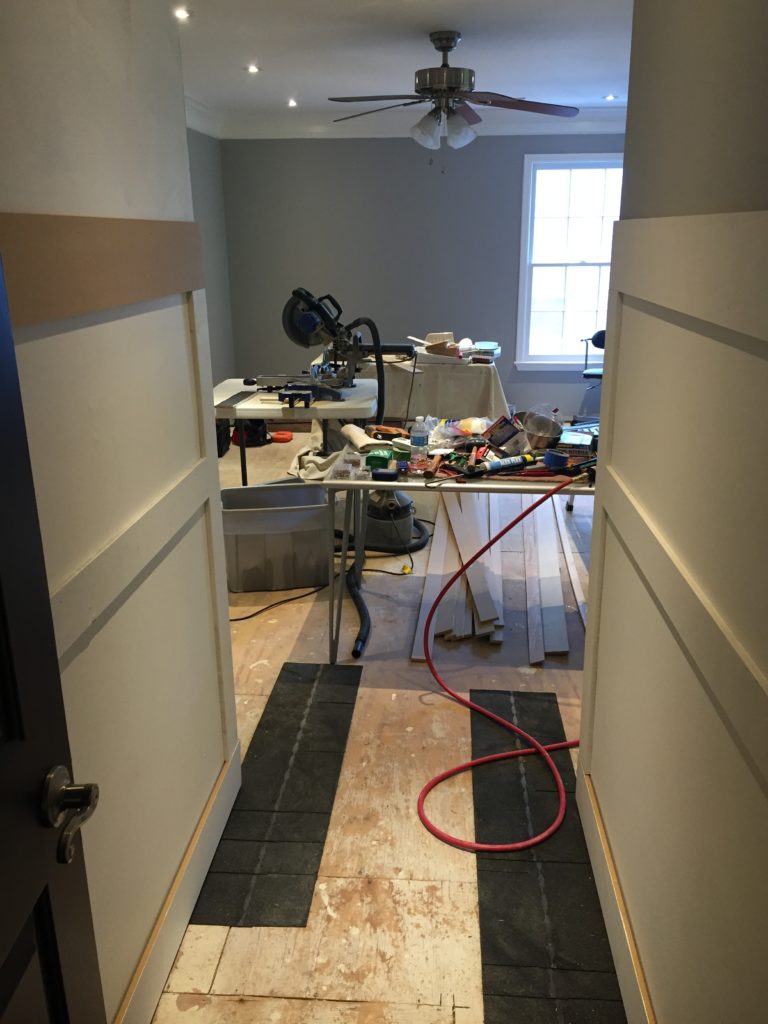
You could probably do all this in a day or two, but it took me a few weeks. We all know what happens to the timeline for a DIY project. It almost never goes as planned, but if you keep at it you’ll eventually get finished and it will look AMAZING!
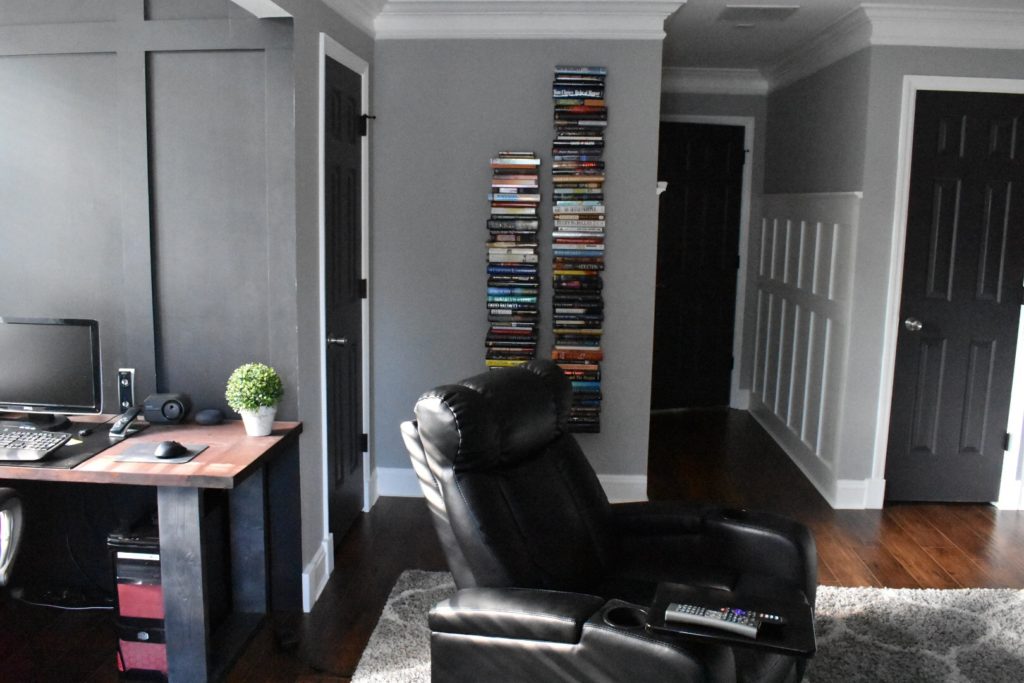
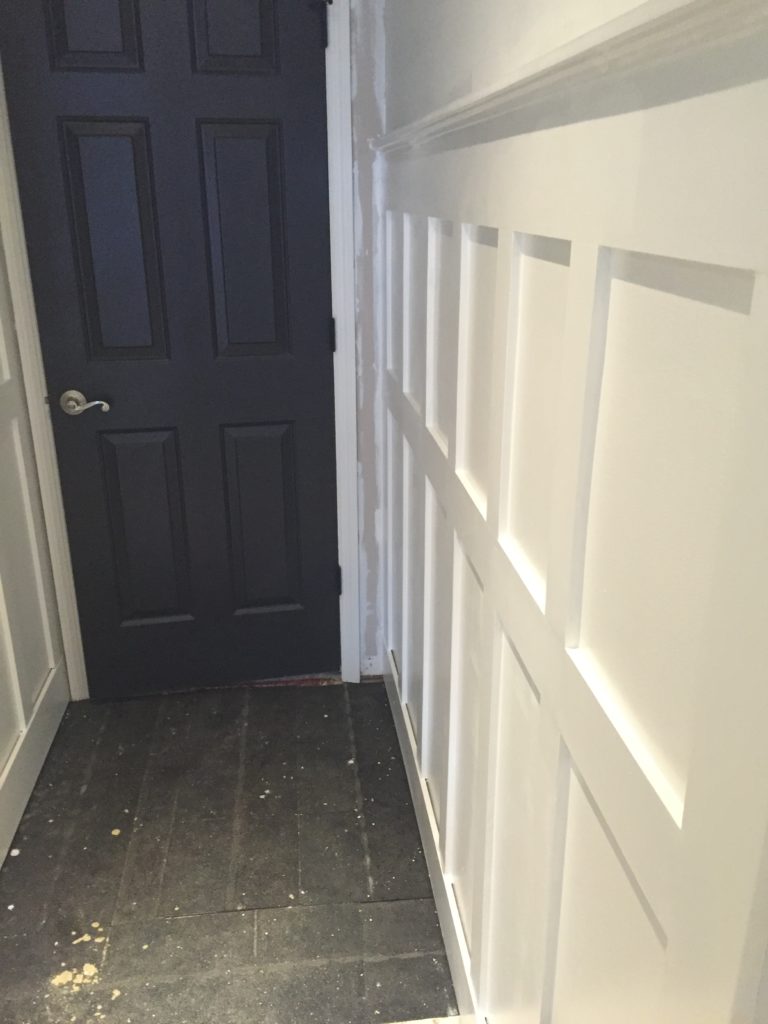
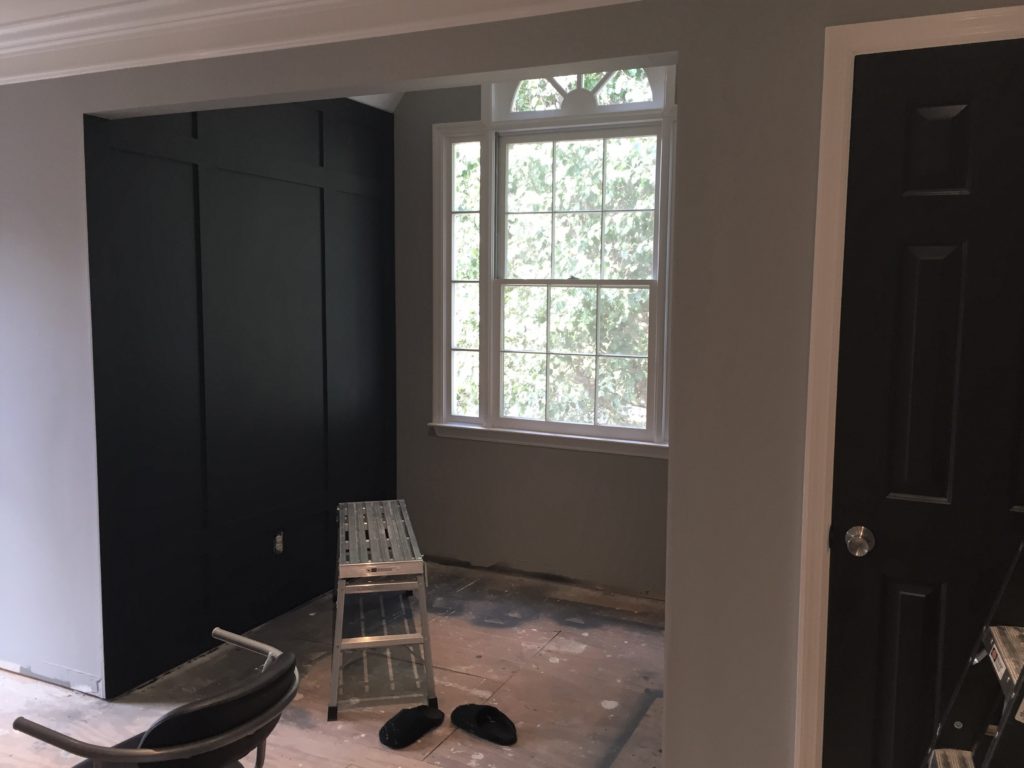
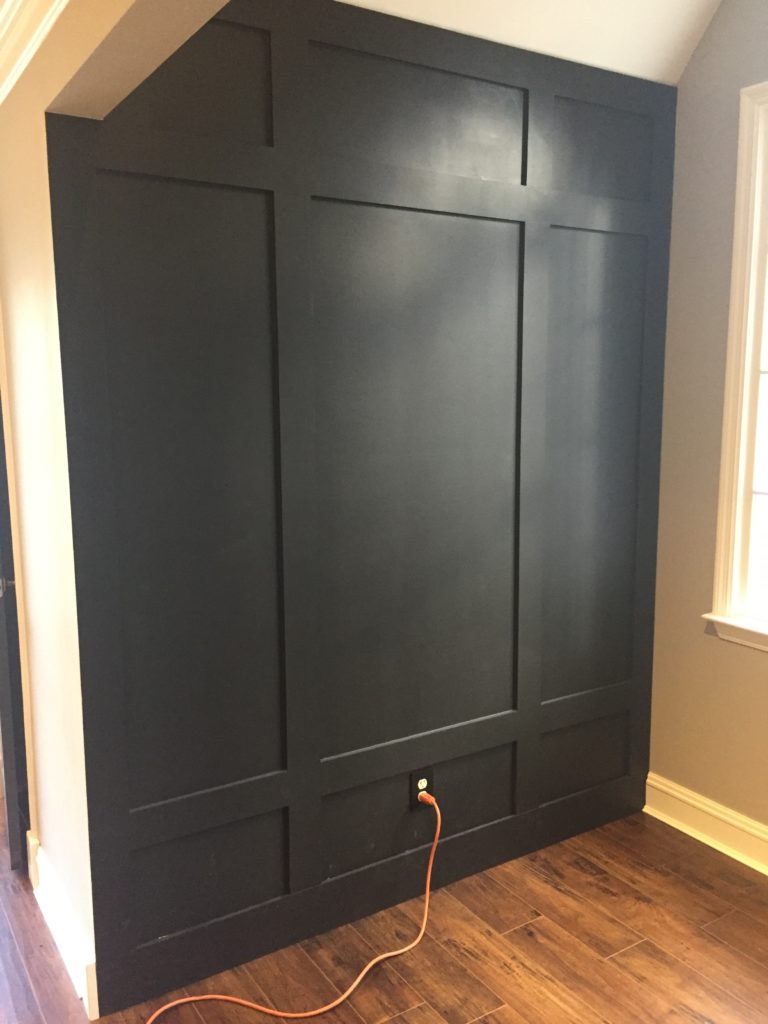
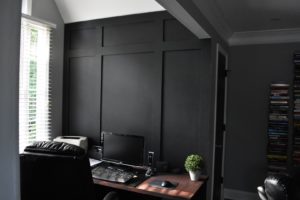
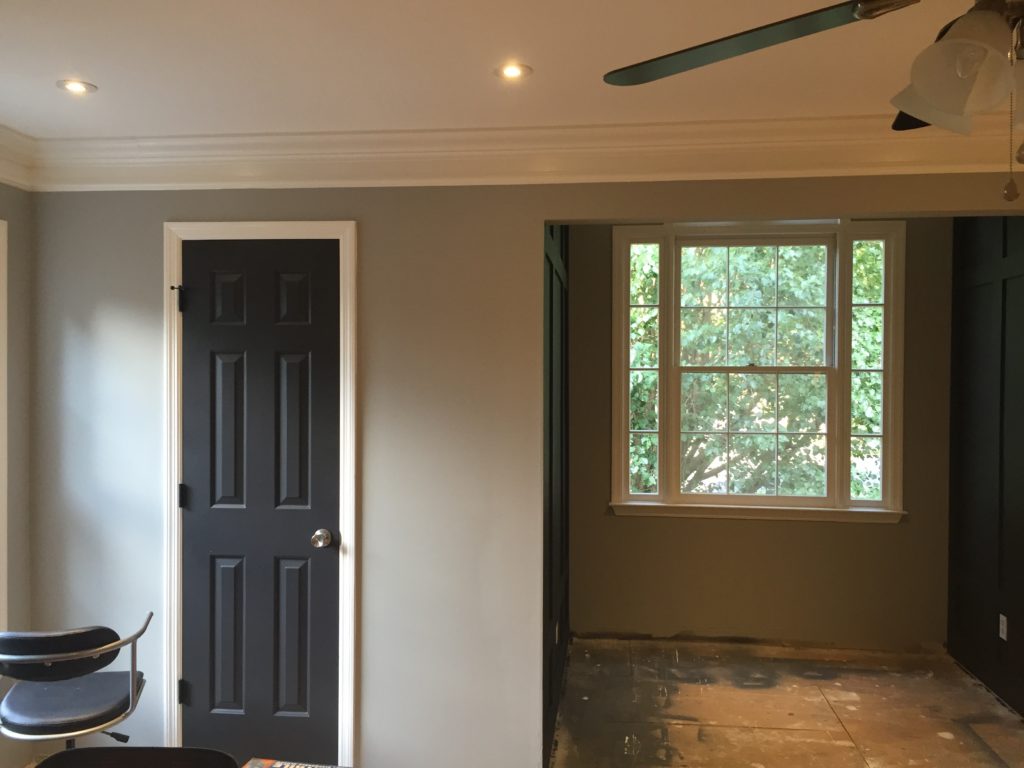
Here is the other area of the room where I thought I’d try more board and batten. You can’t possibly have too much board and batten in one room, can you?????? Nope, not all! I discuss more about this feature wall here. For this wall I used Benjamin Moore Mopboard Black in a satin finish and it looks great!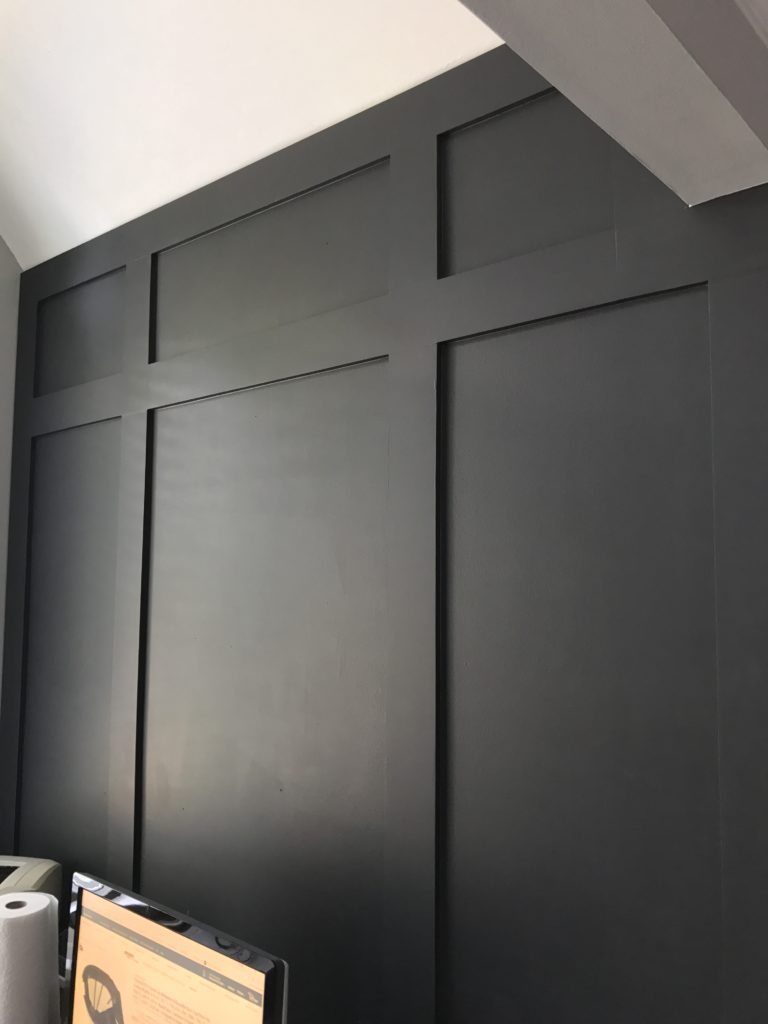
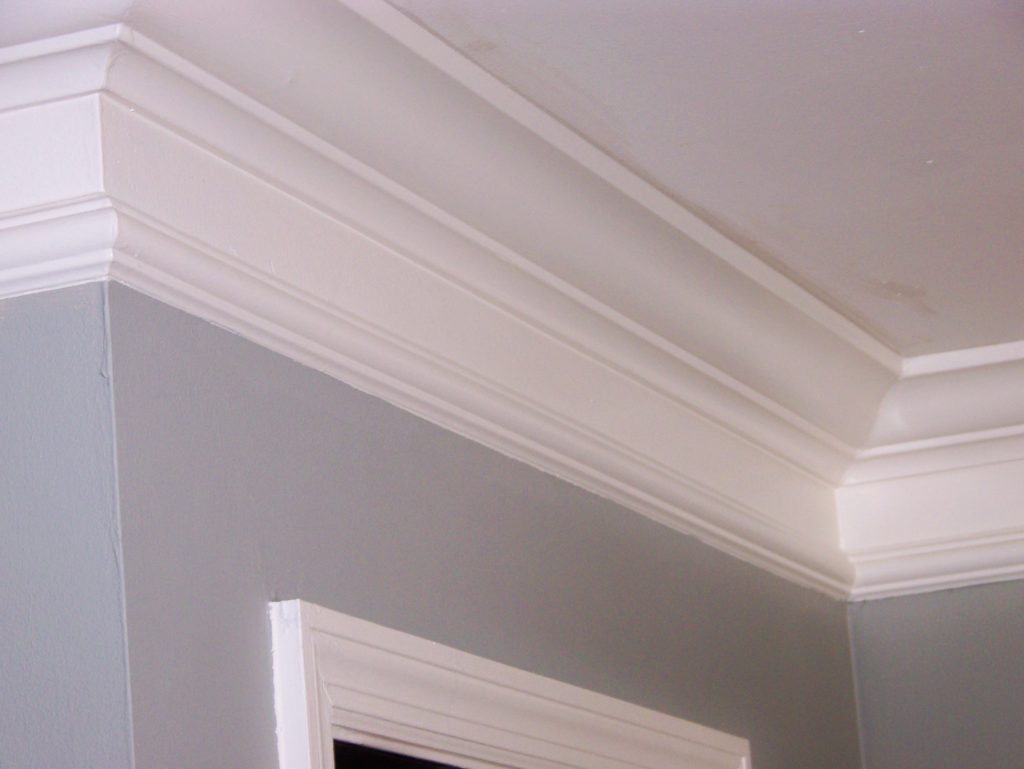
DIY Crown Moulding
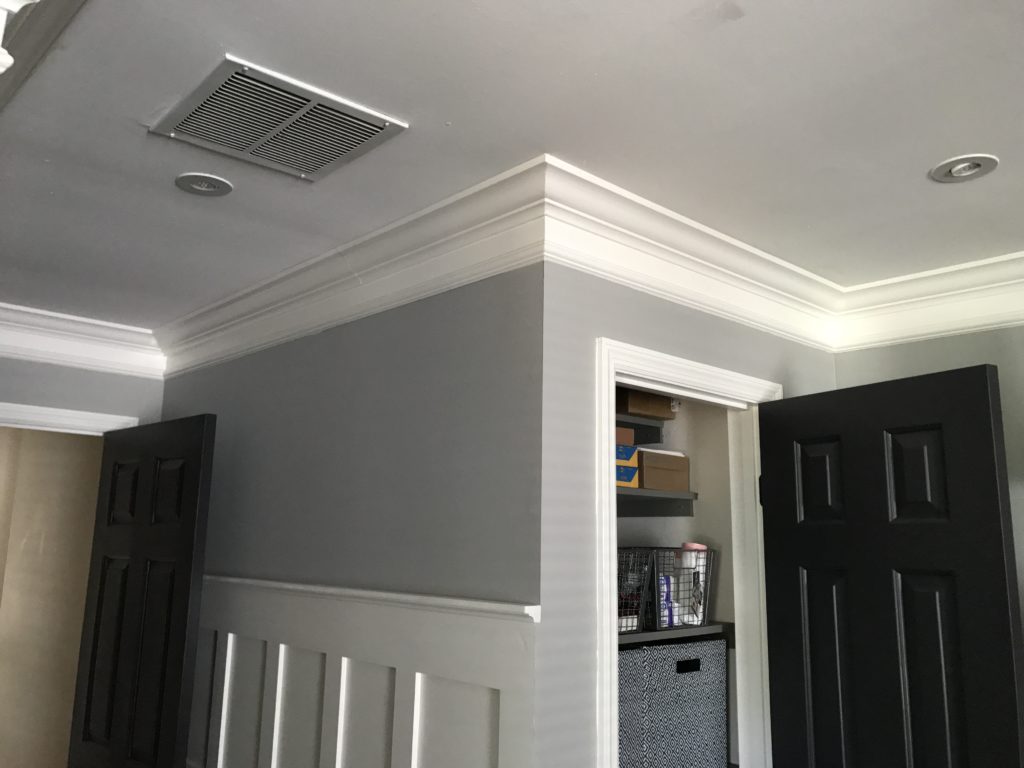
I absolutely love how the crown moulding turned out in this space. In order to save a little money, I only used one piece of actual crown. I created an illusion of super thick crown using about 6 inches of white space and a cheap piece of trim moulding at the bottom.
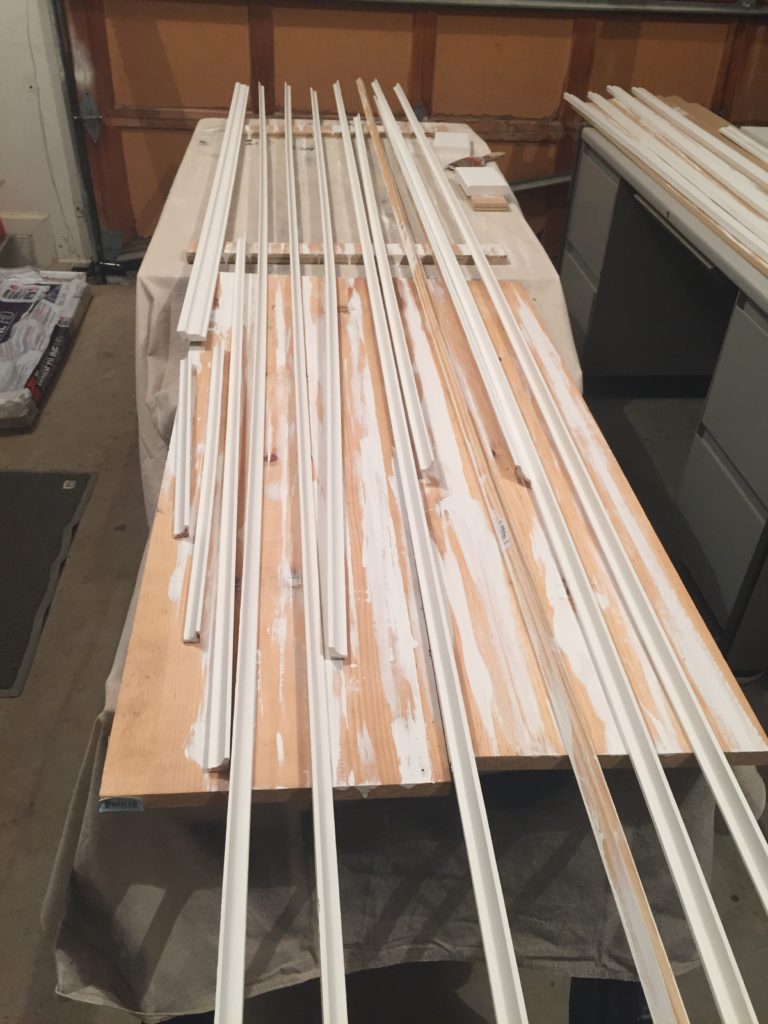
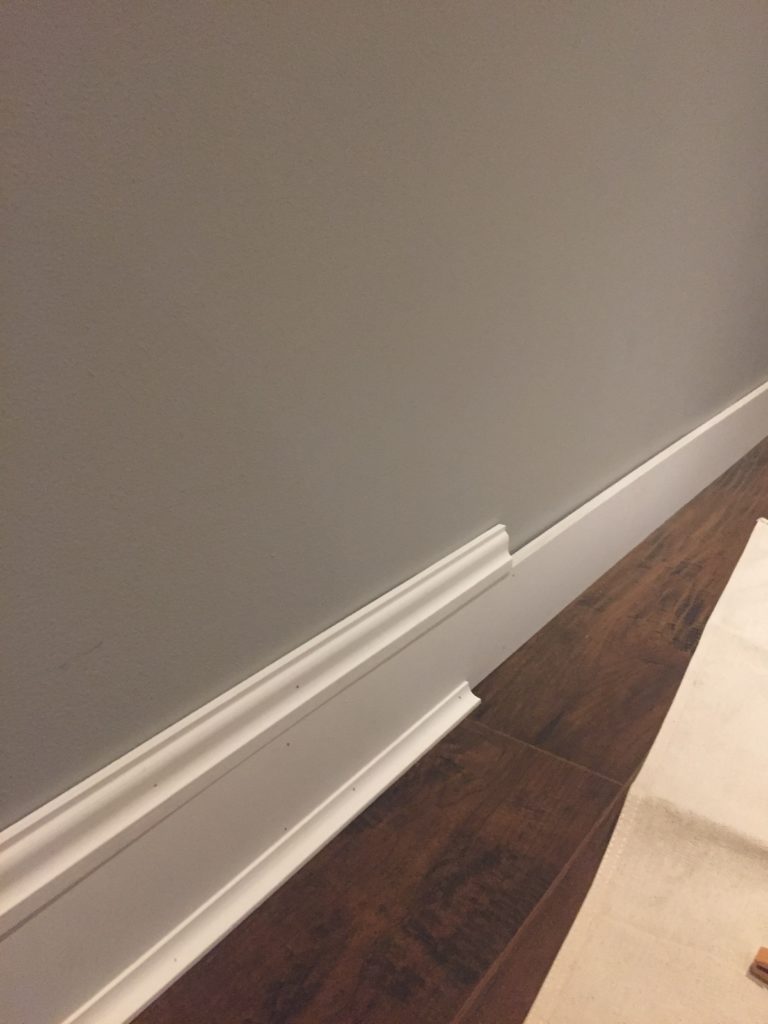
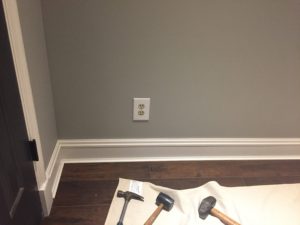
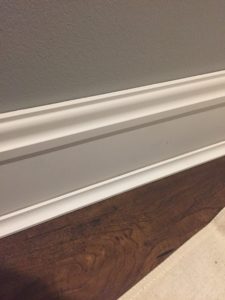
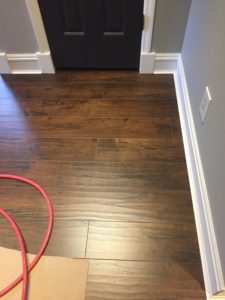
DIY Baseboards
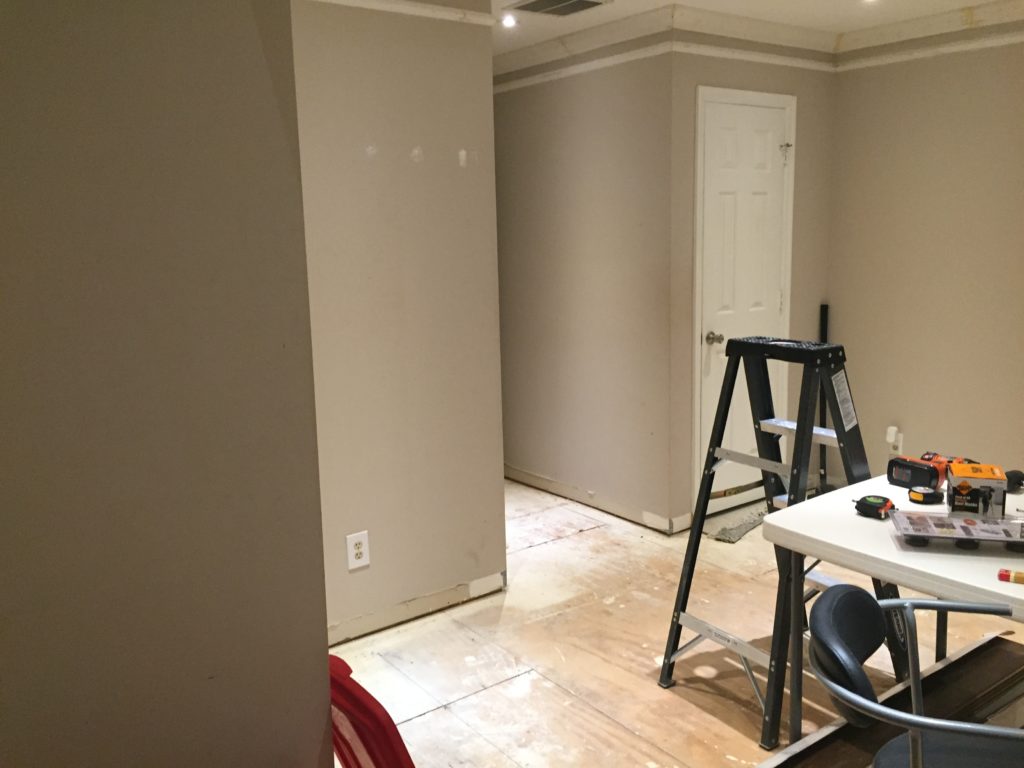
The old carpet had to go and while we were at it, why not rip up the baseboards. That was my philosophy. Pinterest provided lots of pins discussing how to save money on baseboards and one of the tricks was to use MDF for the widest piece and then add small cheaper molding as a basecap. So, that’s what I did. The MDF boards were cut to 5″ wide and we painted them all and nailed it up along with the other pieces. I’m not a fan of the regular shoe molding, so I found another small coved piece that looked great.
 I can’t wait to update the wood trim in other areas of the house. I’m sure you’ll be the first to hear all about it when I do!


Hello! Great job on your DIY projects, it looks great. I am also working on a baseboard project to cover some gaps between my baseboards and tile….where did you get the coved molding? I also am not a fan of the 1/4 inch shoe molding, but can’t seem to find many other options.
Hi Eden! Thanks for you sweet compliments. I found the coved molding at Home Depot. It’s not pre-painted white and comes in 12 ft lengths. I like it much better than shoe molding, but I’ve found that it catches dust. Good luck on your project! 🙂
What about adding molding to your kitchen cabinet doors
I’m all for it! I think molding can really enhance any project.
I have a question about the quarter round on the bottom of the baseboard. Should it be left the color of the floor or painted the color of the baseboard? I’ve seen it done both ways. Thanks.
Hi Stephanie! Personally, I think the quarter round should be the trim color; only because it seems to stand out more if it’s the same color as the floor and there is nothing special about quarter round for it to be accentuated. I actually did try matching it to the floor years ago when I had laminate installed in my kitchen and hated it the second I saw it. It looks like the floor is creeping up the wall.
Room 15×12
I love your paint colors. Could you share the brand and color names?
Hi Ruth,
Thanks for checking out my blog! In the bonus room I used all Benjamin Moore paint on the walls and trim. The black board and batten is Mopboard Black. The walls are Chelsea Gray and the white trim is Simply White. Hope this helps!
Hello. I love everything!!!! What color is the door?
Thank you! The door color is Benjamin Moore Wrought Iron and it’s a black/dark gray paint color. Thanks again for checking out my blog!!!
I love how the baseboard molding looks! Do you have a link for the top piece of trim? Does it go over the existing baseboard? I have baseboard molding that has a rounded top…trying to figure out if something like this would work to add to the top.
The piece on top is generally called base cap molding. This one is really basic and I got it at Home Depot, but there are a few to choose from. You can add a couple of pieces to what you have to work with the rounded edge or cover it all together. I would say buy a foot of trim samples and play around with the layout on top of your existing molding. It might also be easier to just replace it all together. The cost would probably be about the same.