
It’s time to get started on the next room makeover, which is the smallest bedroom in the house. This small bedroom makeover includes a ton of mini DIY projects that can be done independently to upgrade any space at your leisure. You don’t always have to do the whole sha-bang when taking on a diy project. For this small bedroom makeover, I’ll start with removing old wallpaper, the popcorn ceiling and really old carpet. This is the demo stage and it’s going to look much worse before it gets better.
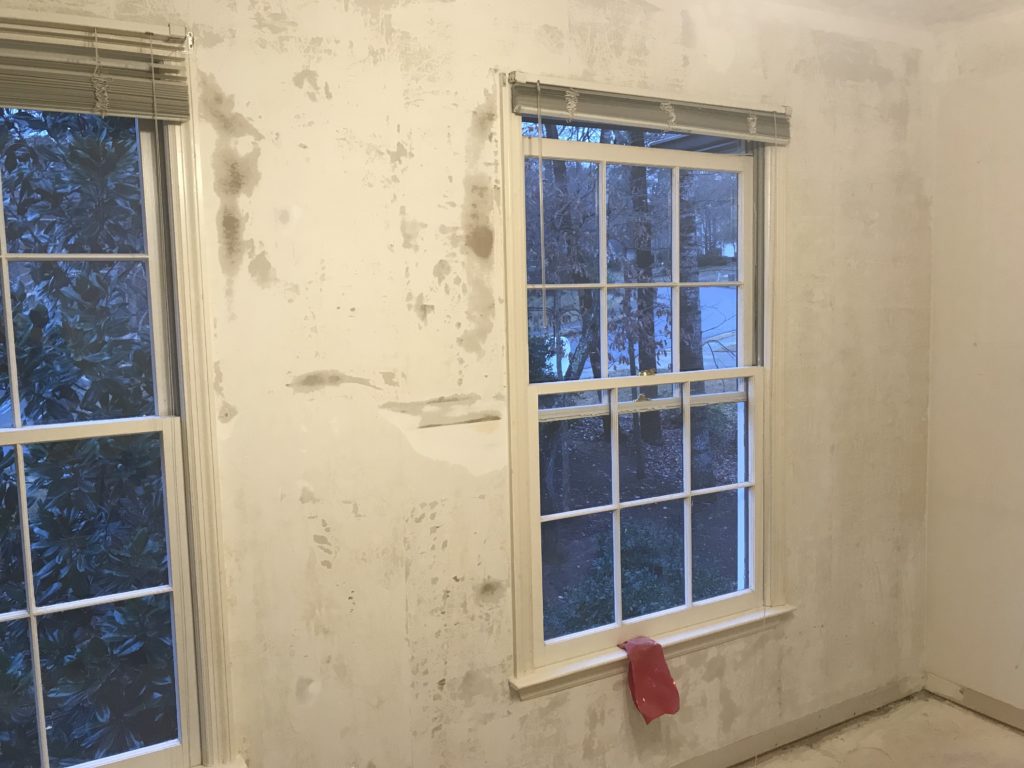
First, we need to remove the wallpaper and I tried several different ways to go about it. I purchased the scoring tool and rolled that thing all over the paper. After checking out Pinterest, I decided to try spraying on water mixed with fabric softener. That didn’t work at all so I tried some wallpaper stripper by Chomp that was suggested at Home Depot. That didn’t work either! My last resort was to buy a steamer and that worked, for the most part.
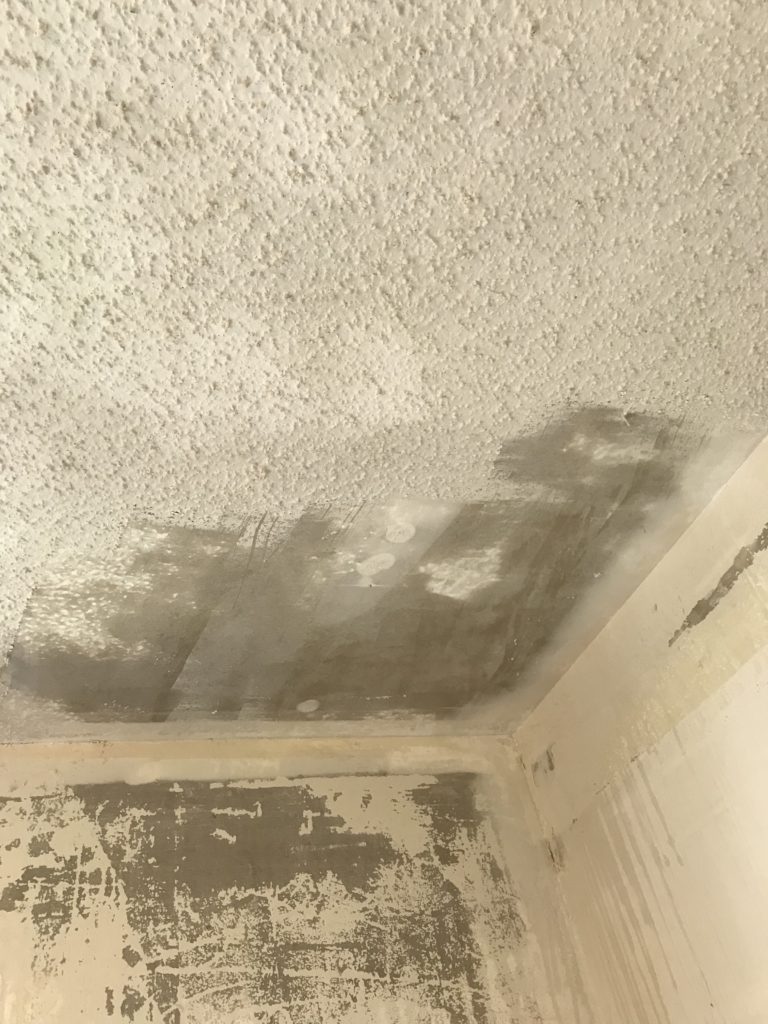
Unfortunately, there was some drywall damage after it all was said and done. I probably needed to let it steam a bit longer, but I got impatient and started ripping at it like a mad woman. Now this means I’m going to have to do a little skimming. I’ve never done any skimming so you’ll hear more about that when I get to it.
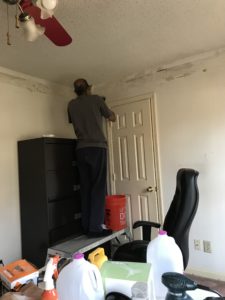
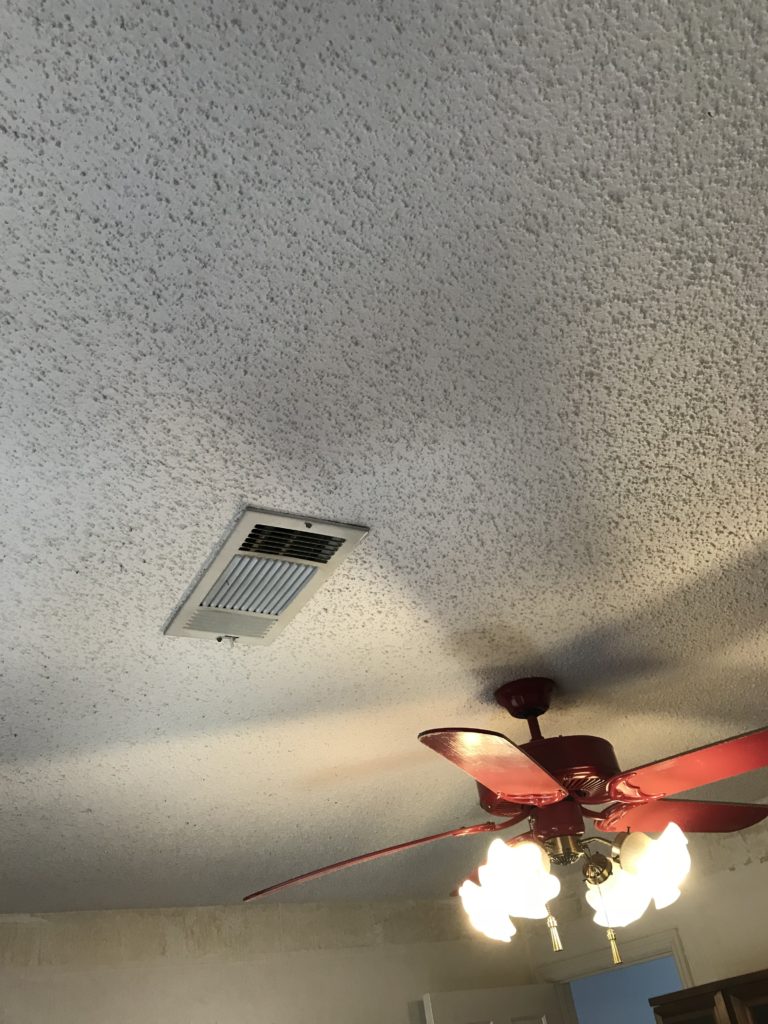
Now that the wallpaper is down, it’s time to tackle the ceiling. Luckily, this job was easy. This is something I’ve done before, so I knew exactly what to do. I used a pump sprayer full of water and a large scraper. Dad sprayed a big section and I scraped it lightly, just enough to open the popcorn a bit so that water can get in there. He sprayed a 2nd time and we let it sit for about 5 minutes. After letting it sit, I scraped lightly, so not to damage the drywall underneath and it all fell down on the plastic beneath. Super easy! Some of the areas were a little stubborn and needed more water, but this stage took about an hour.

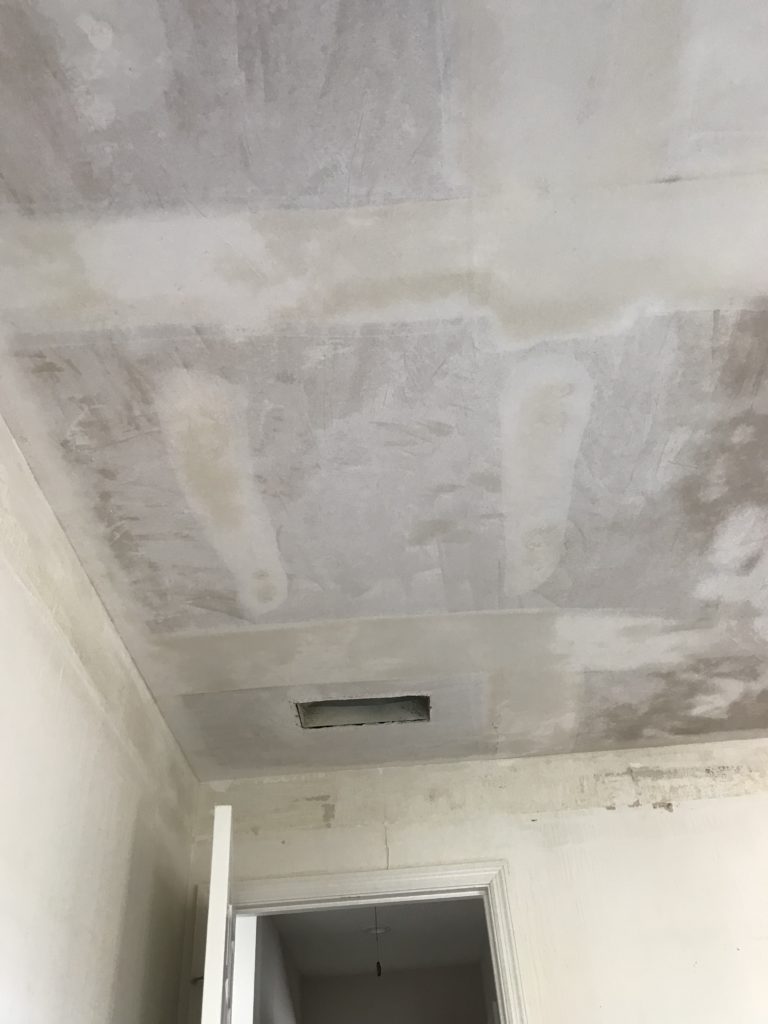
Here it is with all the popcorn removed. The worst part about this project is the mess. Luckily, I was planning to rip up the flooring so I wasn’t really concerned about anything being ruined.
After the ceiling, it was time to rip out the baseboards and carpet. With the help of a couple of strong friends, this part of the project was done in about an hour also. Things go really fast when you have a little help.
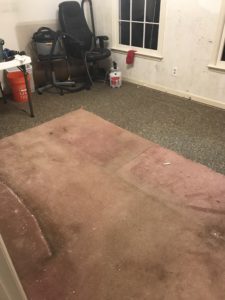
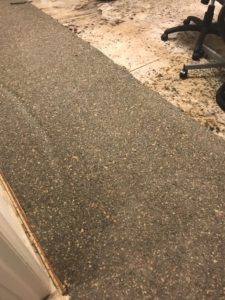
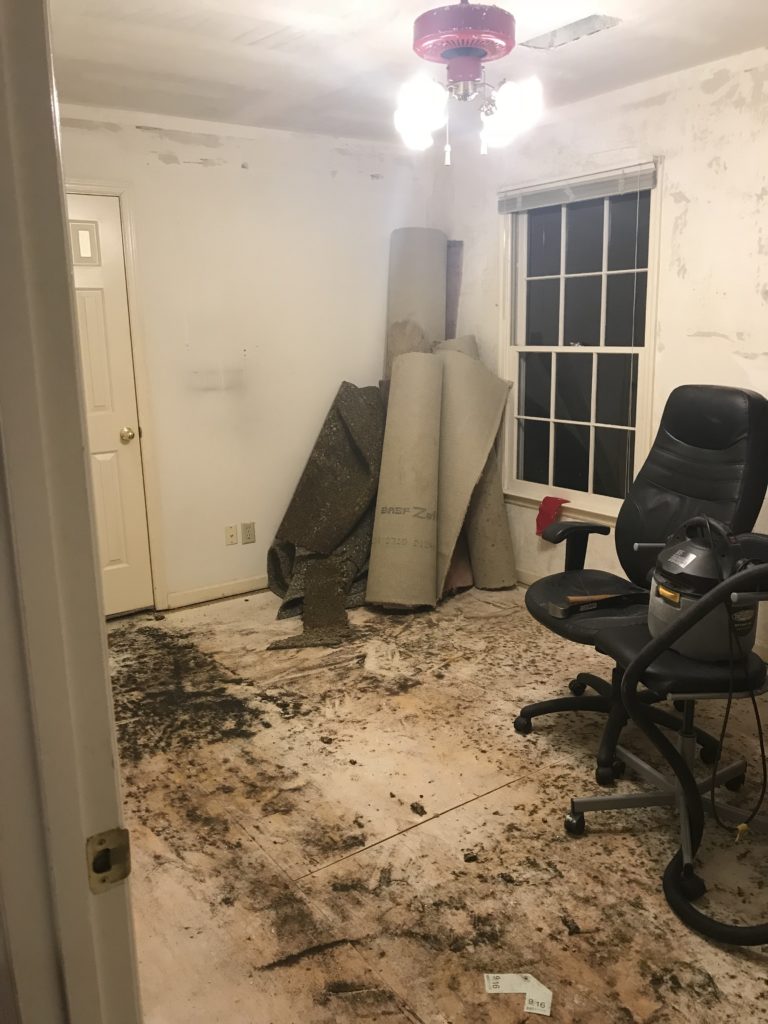
So, most of the time was spent removing the wallpaper, cleaning up and hauling out 30 year old carpet. I couldn’t believe all the dirt underneath that carpet. YUCK! When I first saw this underneath the padding I thought for sure we would need a hazmat team. Dad assured me that it wasn’t mold and the shop vac was put to good use.
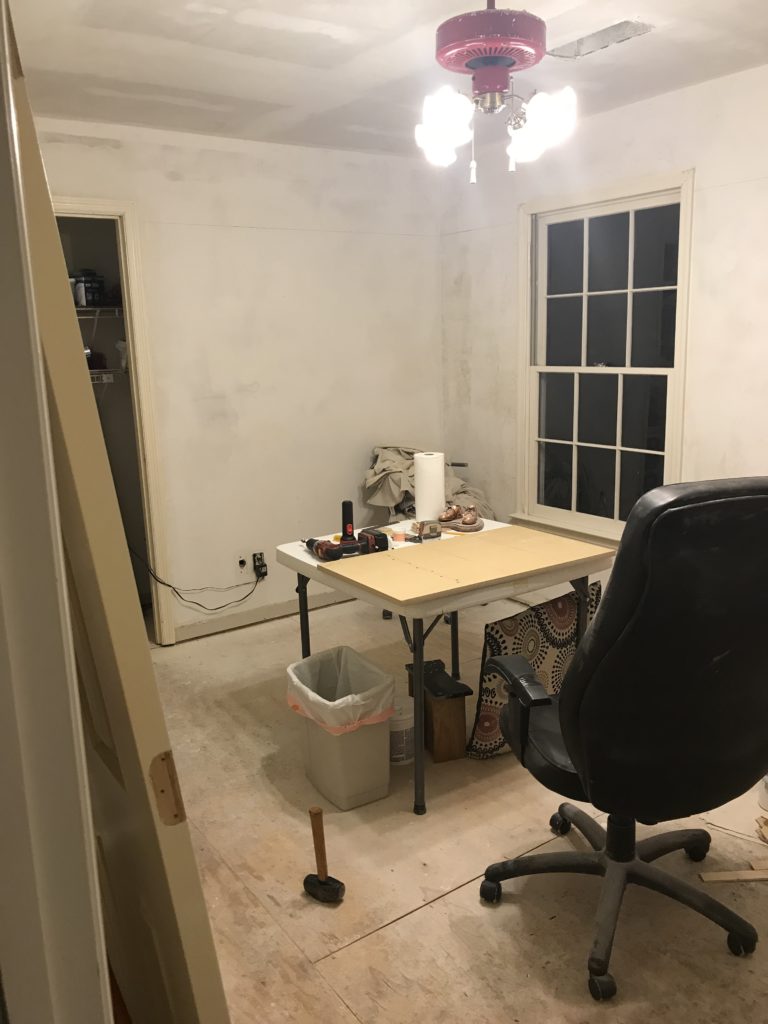
Now I have a completely clean slate for my small bedroom makeover and I can’t wait to get started. Next step is to start skimming the walls and adding some trim. Stay posted for updates and be sure to check out my other DIY projects here.


WTG! For future reference, a spray bottle with vinegar water will loosen wallpaper and you can use it to sponge the glue off the wall, too! If you do not have a sprayer bottle…a bucket, sponge and vinegar-water will do the trick.
I am very impressed with your popcorn removal!
Looking forward to seeing what comes next!
Oh wow! thanks for the tip. I have several more rooms of wallpaper to remove so this will come in handy. The popcorn ceiling didn’t fight back nearly as much as the wallpaper. Thanks for checking out my blog!
Hats off to you lady! Removing popcorn ceiling is a very nasty job. We didn’t remove completely, just did s sanding over and painted. That was a messy enough, I can’t imagine the work with complete removal. Great gutting job overall.
Thank you!!! Sounds like you had a mess on your hands too, but the popcorn must come down by any means necessary. LOL!!! We need to have a talk with the genius that came up with popcorn ceilings.