
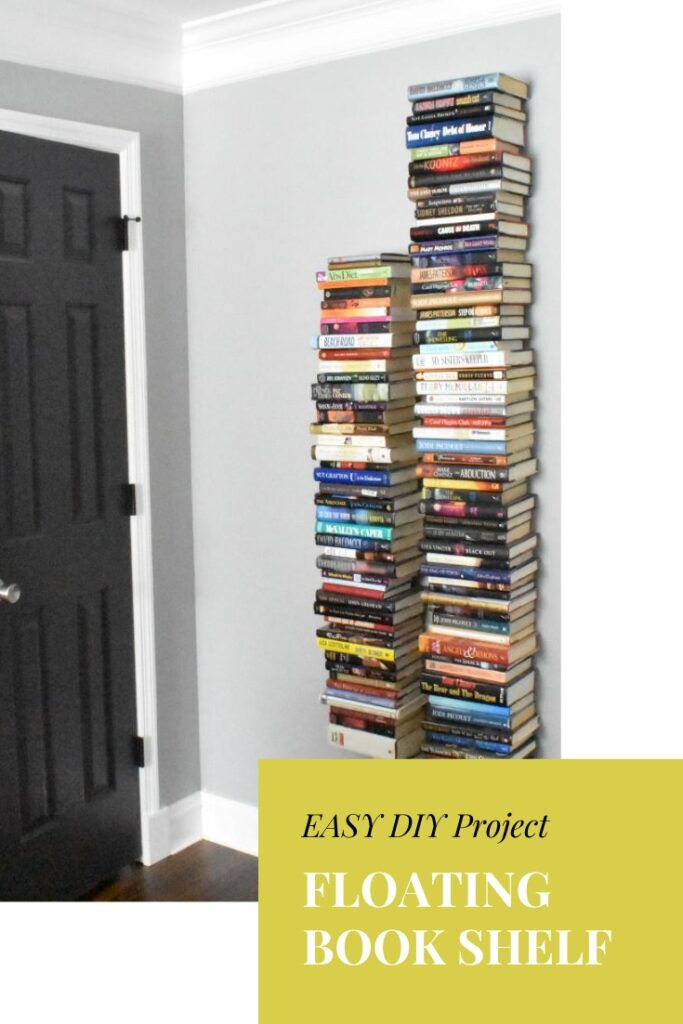
All throughout the bonus room makeover I’ve been trying to decide where I could put my books. It wasn’t until I ran across a fabulous pin on Pinterest before I knew this was the solution I had been looking for. Behold….INVISIBLE FLOATING BOOK SHELVES!


My poor books never really had a permanent home on display. Most of the time they were shoved in a closet soon after reading them. I’ve never been a fan of the standard bookshelves and it became out of sight, out of mind mentality when it came to book organization. When the renovation project commenced, I vowed to find a home for these books once and for all. I loved this idea!
I didn’t really do any of the prep work for this project except find some good instructions for dad to follow. LOL! This website provided a great tutorial for utilizing cheap L-brackets to suspend the books on the wall so that it’s hidden: Invisible shelf
Getting Started
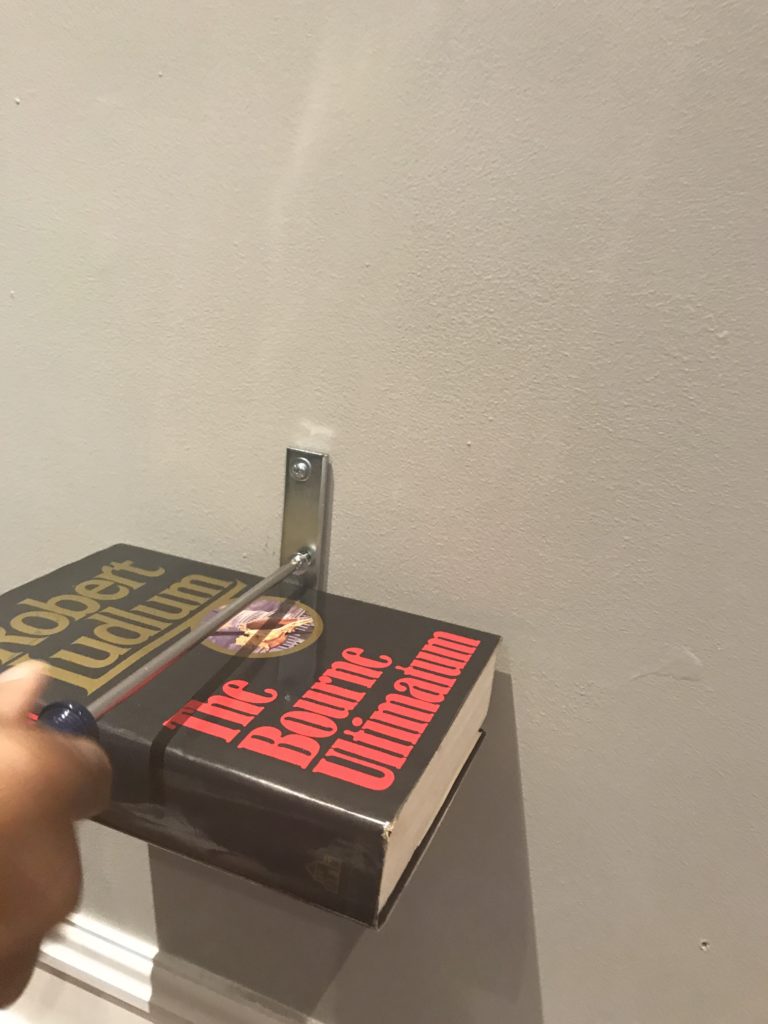
Dad spent time carving out the inside of a few books, fastened the brackets to the books and then glued the pages together. Since these books were going to be damaged, I used some that were going to be donated. These are basic L-brackets that can be found at any hardware store. Once the bracket book was fastened to the wall, I started stacking the books. I was comfortable stacking about 7-10 books (depending on size) on each bracket because they would start wobbling a bit. However, the stack stabilizes when you install another bracket book on top.
We used wall anchors because the studs weren’t in the “right” place for my design plans.
Get Ready To Stack Books
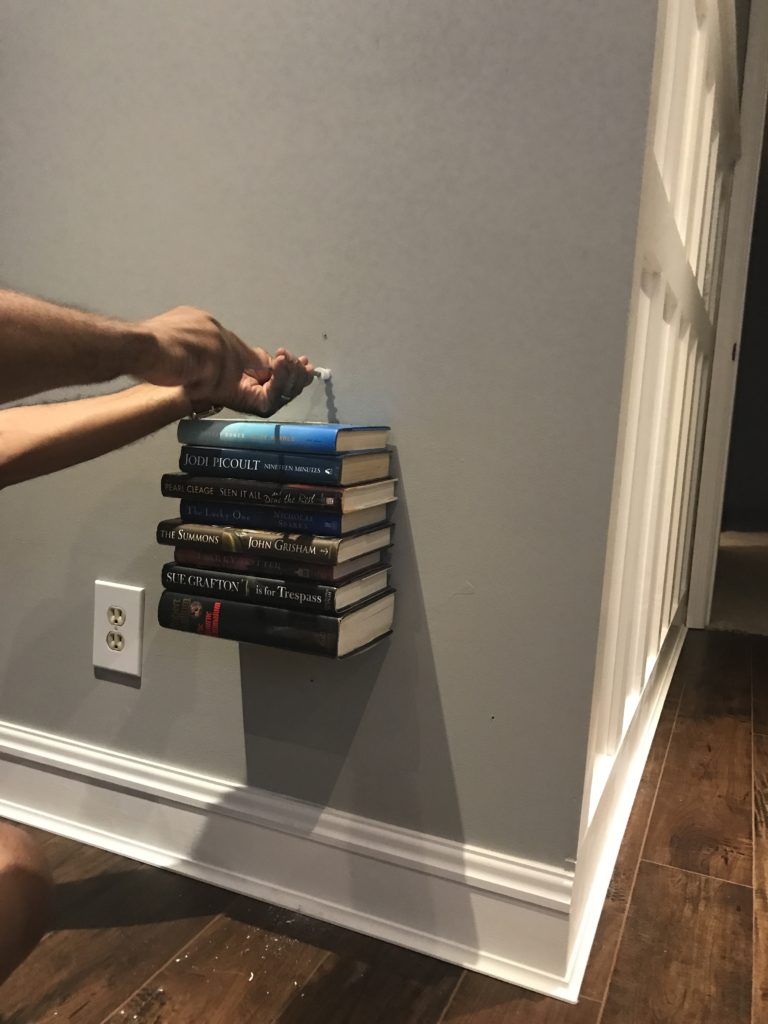
In this photo the first bracket book is installed and I stacked about 7 books on top. You can see where he’s going to install another bracket book on top of the stack in the picture above. We’ll repeat this process all the way up the wall.
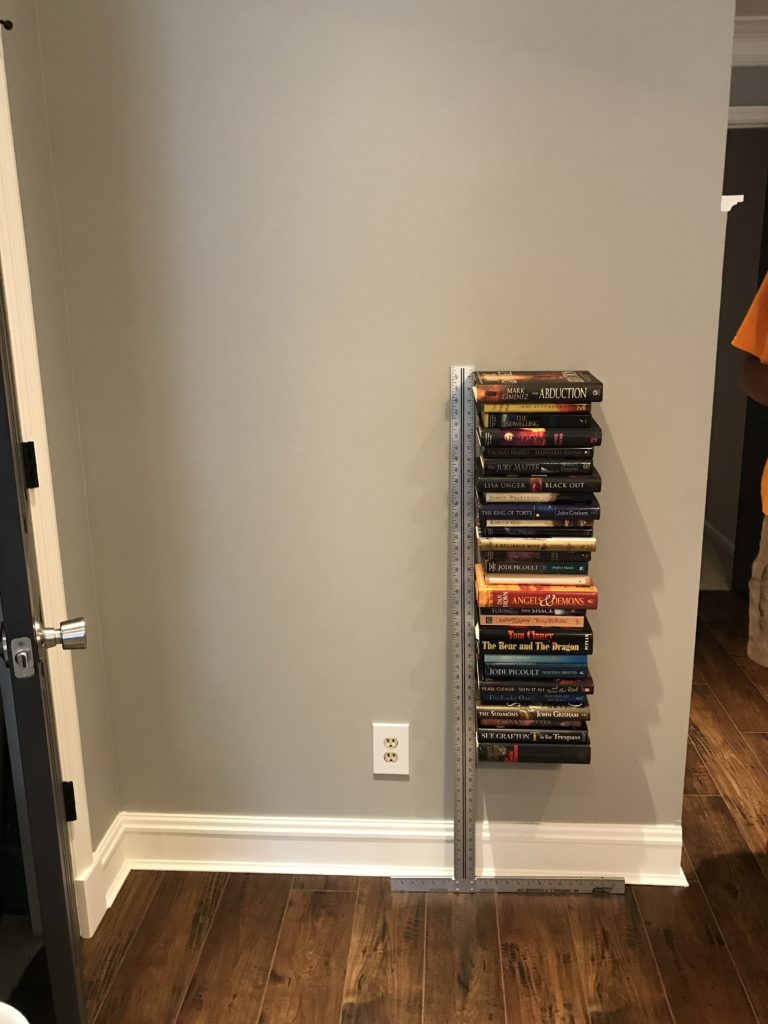
As we stacked the books, a t-square helped to keep them aligned in a straight row.
Get Stacked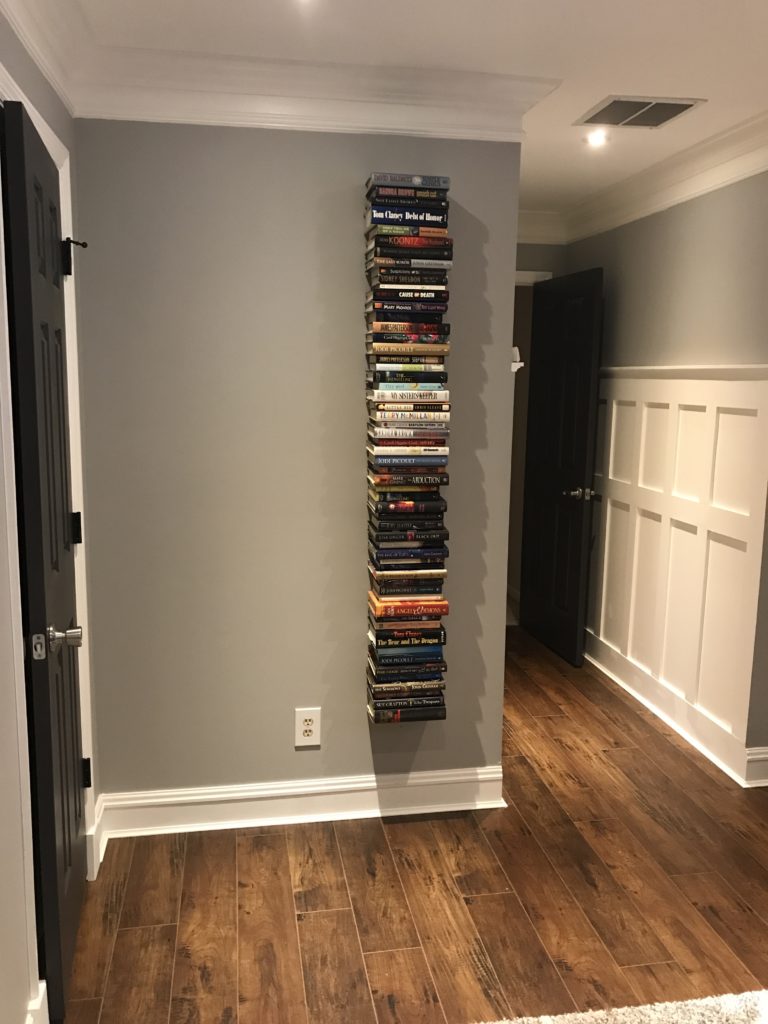
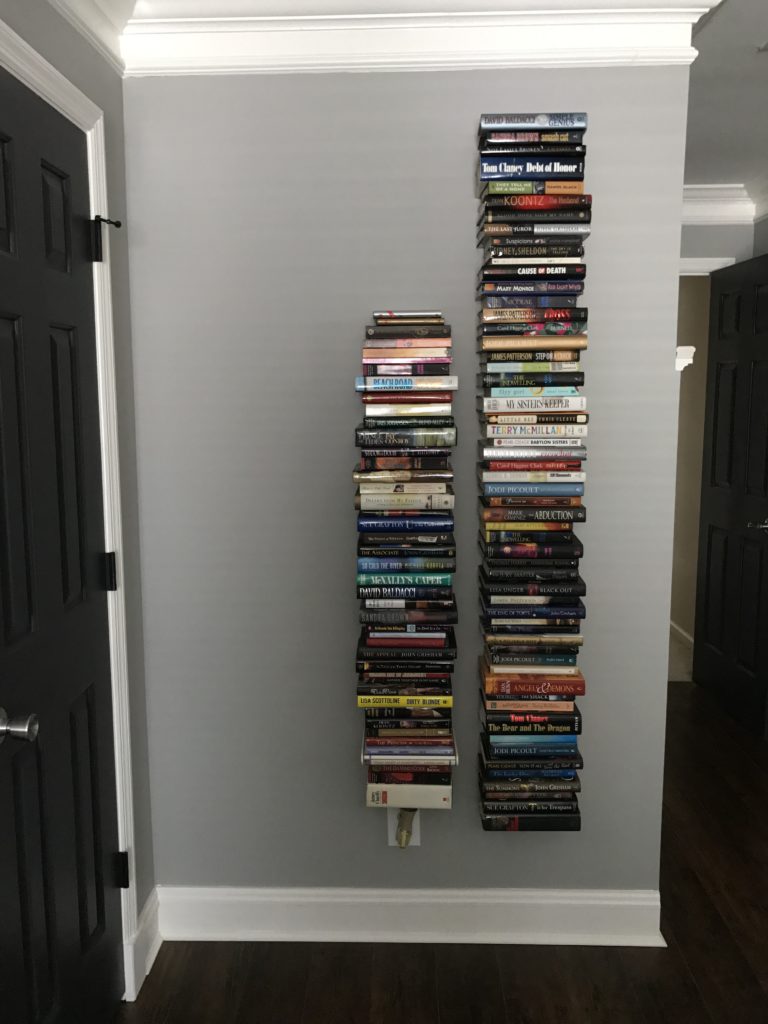
Here it is with one column complete. There are about 5-6 bracket books supporting the tower, so it’s solid and not going anywhere. Time to start the second column, but I’m running out of books. It seemed like I had many more than this when I started. My plan was to have 3 columns on the wall. Oh well, I guess I’ll have 2 1/2 columns until I start reading again.
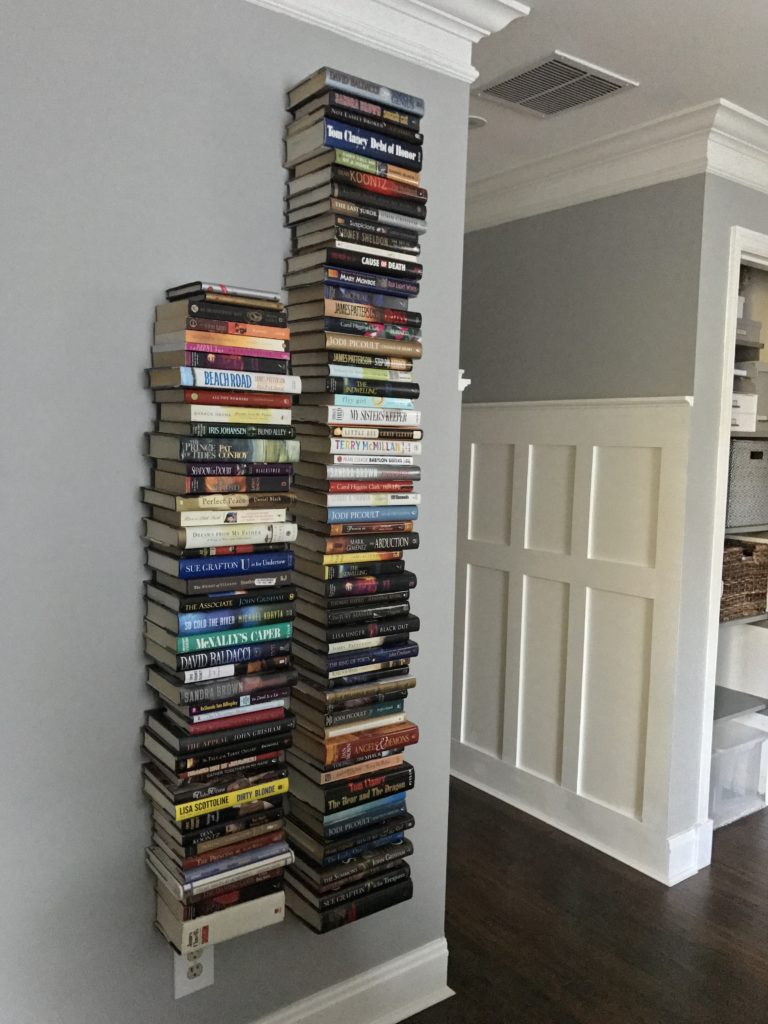
Floating Books Complete
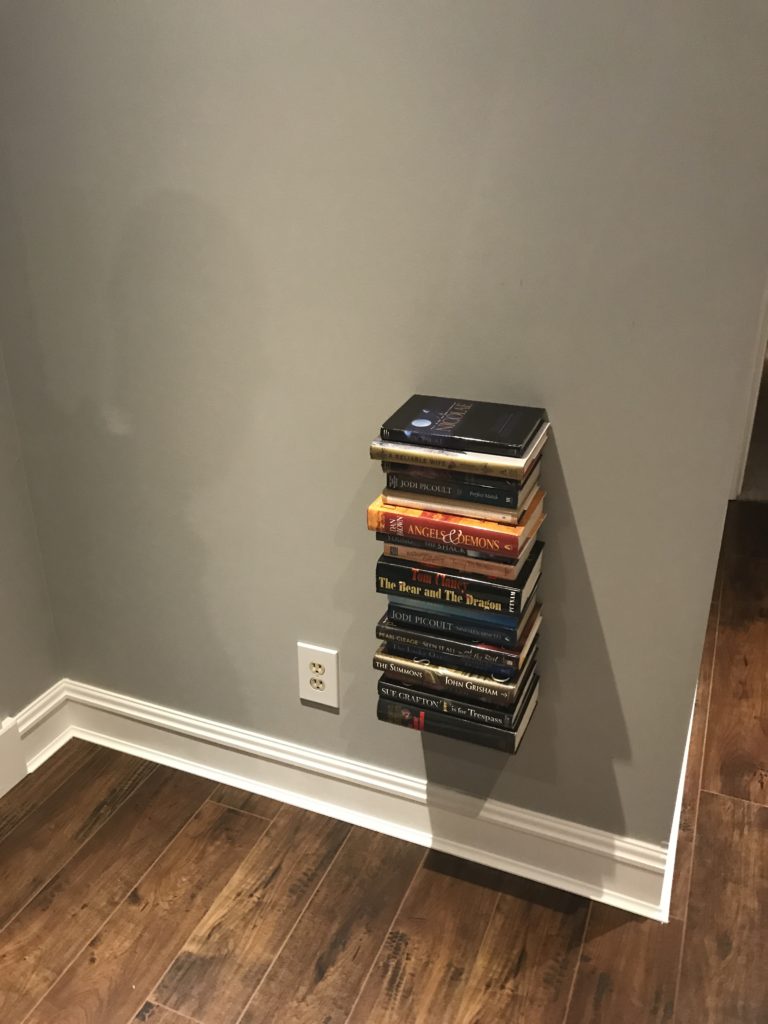
Now my library seems a little puny, but it sure is fabulous looking floating on the wall. Dad did a great job getting the bracket books completed and hanging them up. I didn’t really help much with this project other than stacking books and taking pictures. It took us (him) about 3-4 days to complete and cost about $20 in L-brackets.
If you are wondering what to do with your book collection, consider using books to create a feature wall somewhere in your home. It will definitely spark a conversation about your favorite books and maybe your not so favorites. At least, the not so favorites can still come in handy as wall art.


How many inches are between each L-shaped bracket. Also How many brackets did you use?
Hi Danielle! I spaced them about a foot apart. The tallest stack has bout 7 books with brackets in them.
What did you use to glue the books together?
I just used Gorilla glue.